Add a pop-up checkout to your site
Learn how you can add a pop-up checkout to your website to sell digital products, subscriptions, and event tickets.
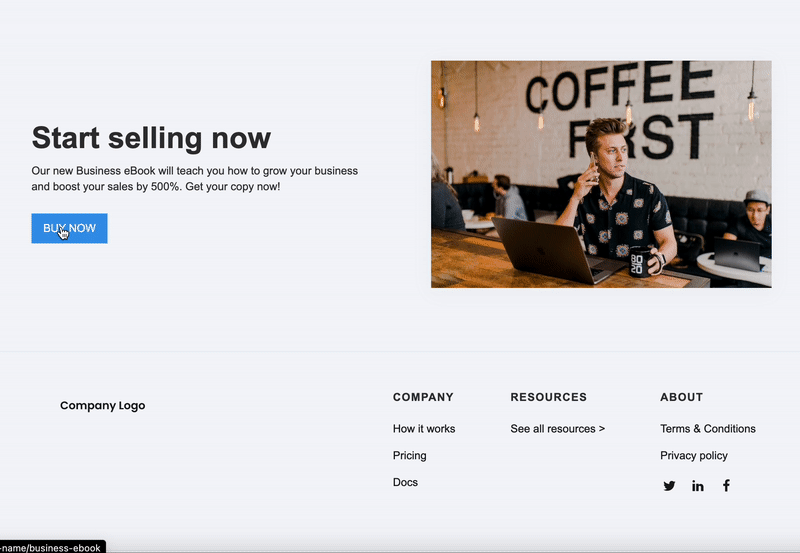
In this help article, you’ll learn how to add a pop-up checkout directly on your website. By opening the checkout in a pop-up overlay, customers can complete their purchases without leaving your web page, creating a more seamless checkout experience.
What is the pop-up checkout?
The pop-up checkout (sometimes called a payment pop-up) is a modal window that appears on your website, allowing visitors to buy your products without leaving your web page.
Add a pop-up checkout to your site
To add a checkout pop-up to your site, simply copy and paste our embed code. Here’s how:
- Enter the Edit view of your page.
- Click Share & embed.
- Select Add to website.
- Choose Checkout pop-up.
- Add the first script to the header of your website.
- Add the link that triggers the pop-up to your web page.
You can trigger the pop-up checkout with either a link or a button. Make sure this link or button has the class cp-button for it to work.

Click here to learn how to share your page via a link