Business settings
In this help article, we'll show you how to change your business settings like the business name, brand color, logo, support email and default currency.
Checkout Page allows you to customize your one-page checkout to make it look and feel like your own site.
You can easily change the look and feel of your checkouts, payment links, emails to customers and your customer portal.
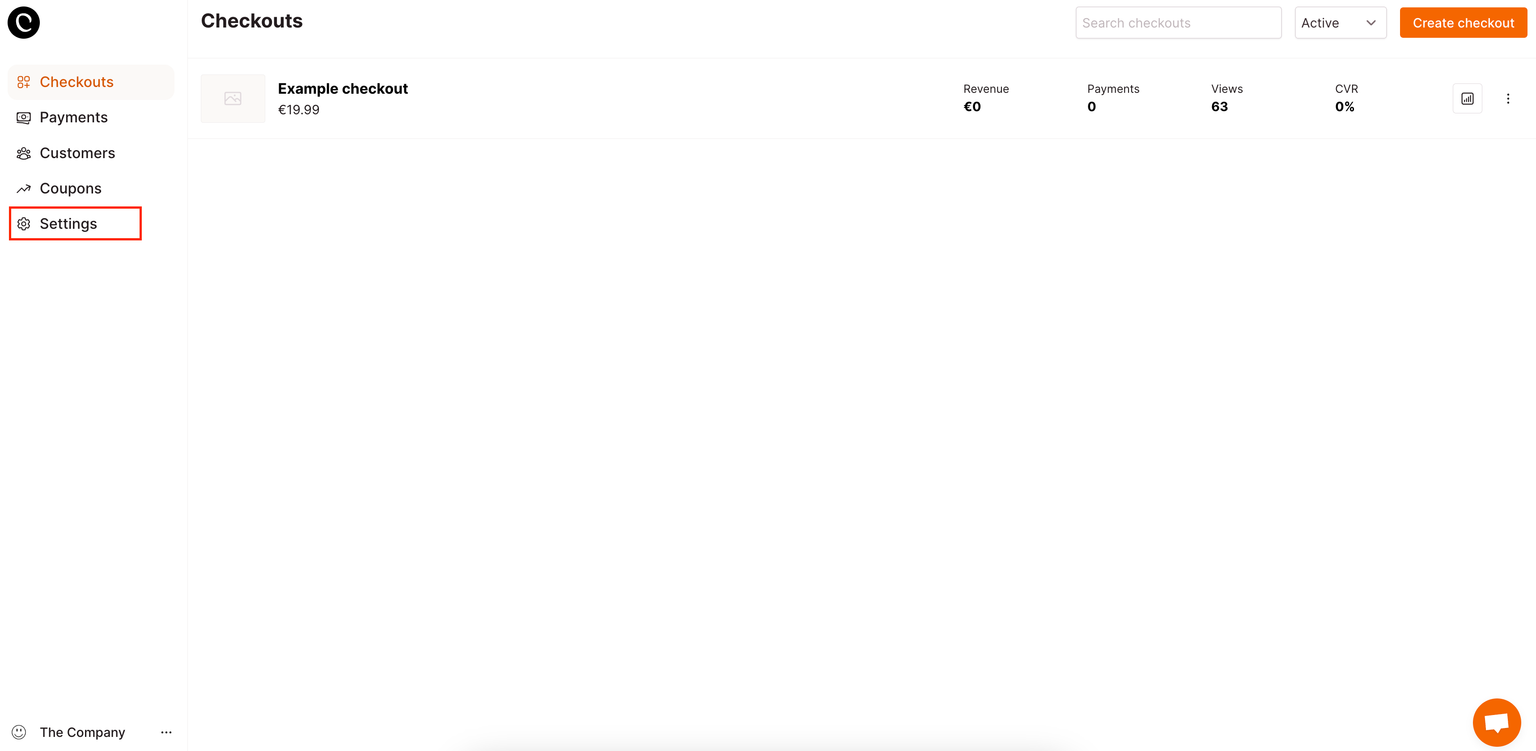
Go to settings
Open your Checkout Page dashboard and then go to Settings.
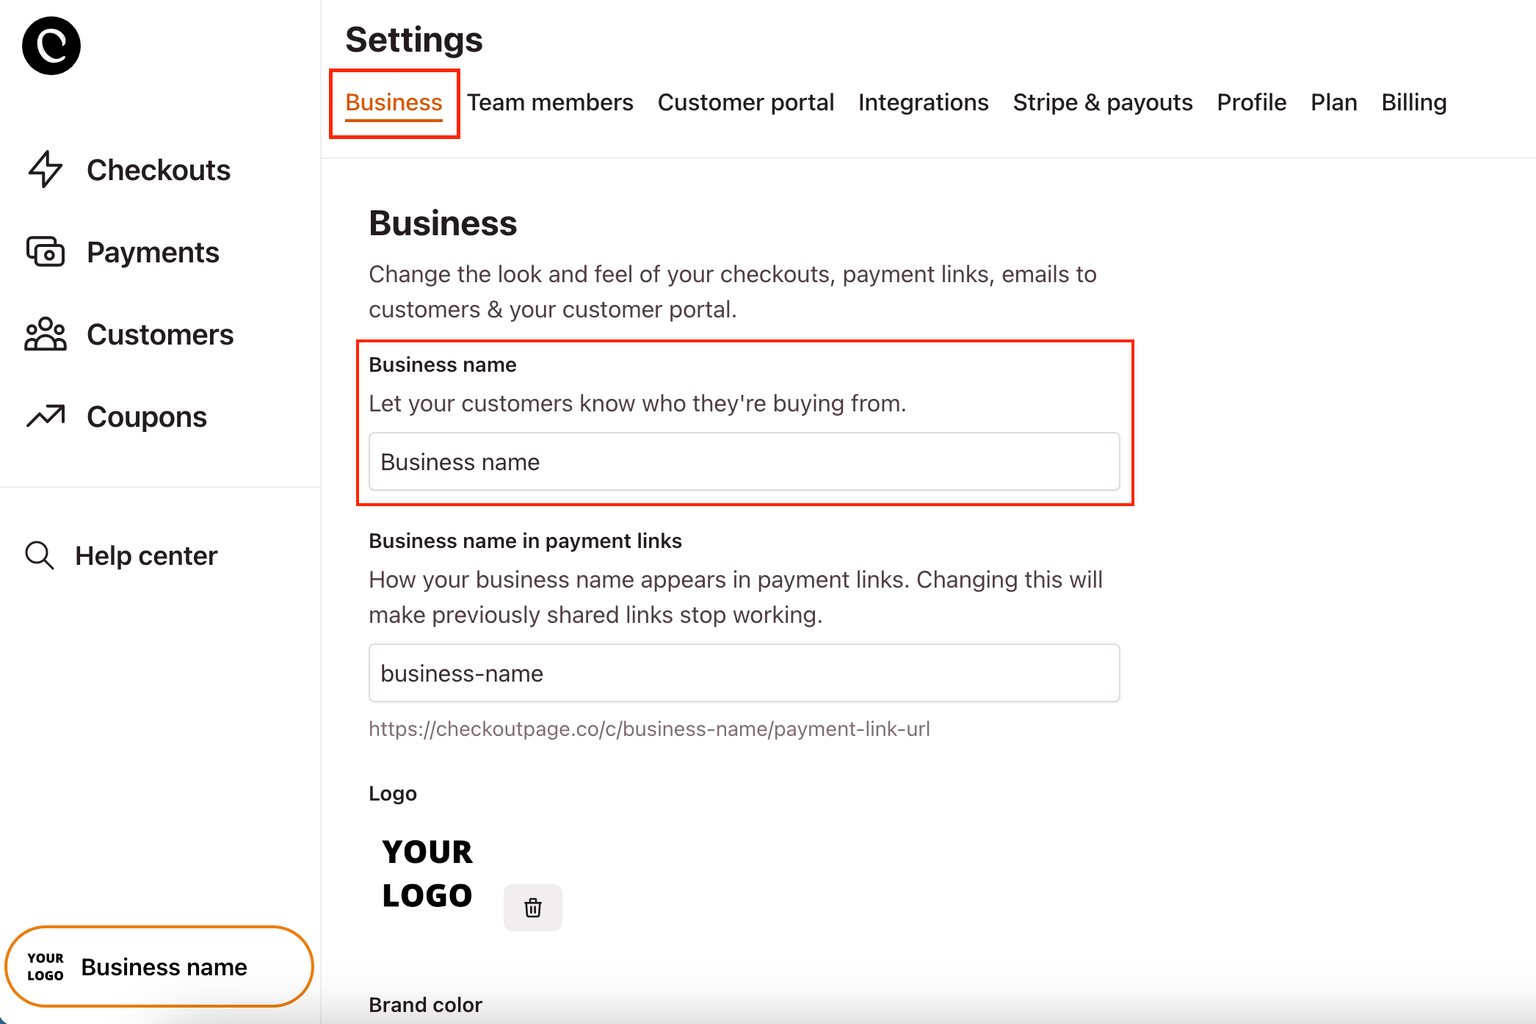
Business name
Enter your business name here to let your customers know who they are buying from.
Make sure to scroll down to Save any changes made.
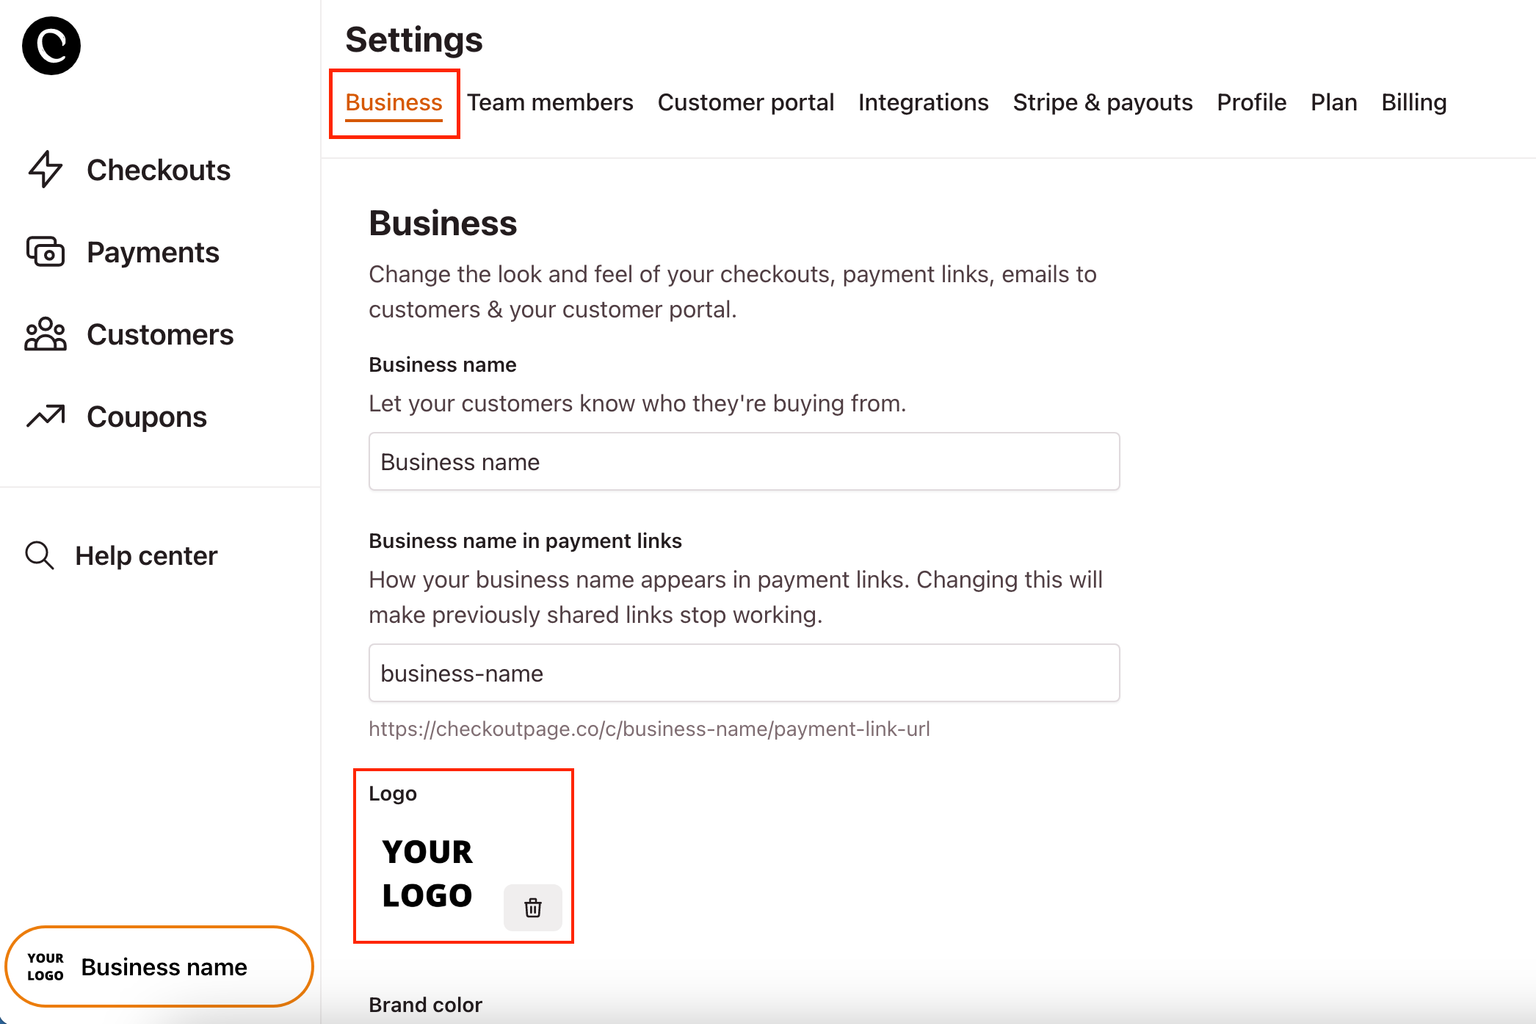
Logo
Add your logo to display it on your one page checkouts.
Make sure to scroll down to Save any changes made.
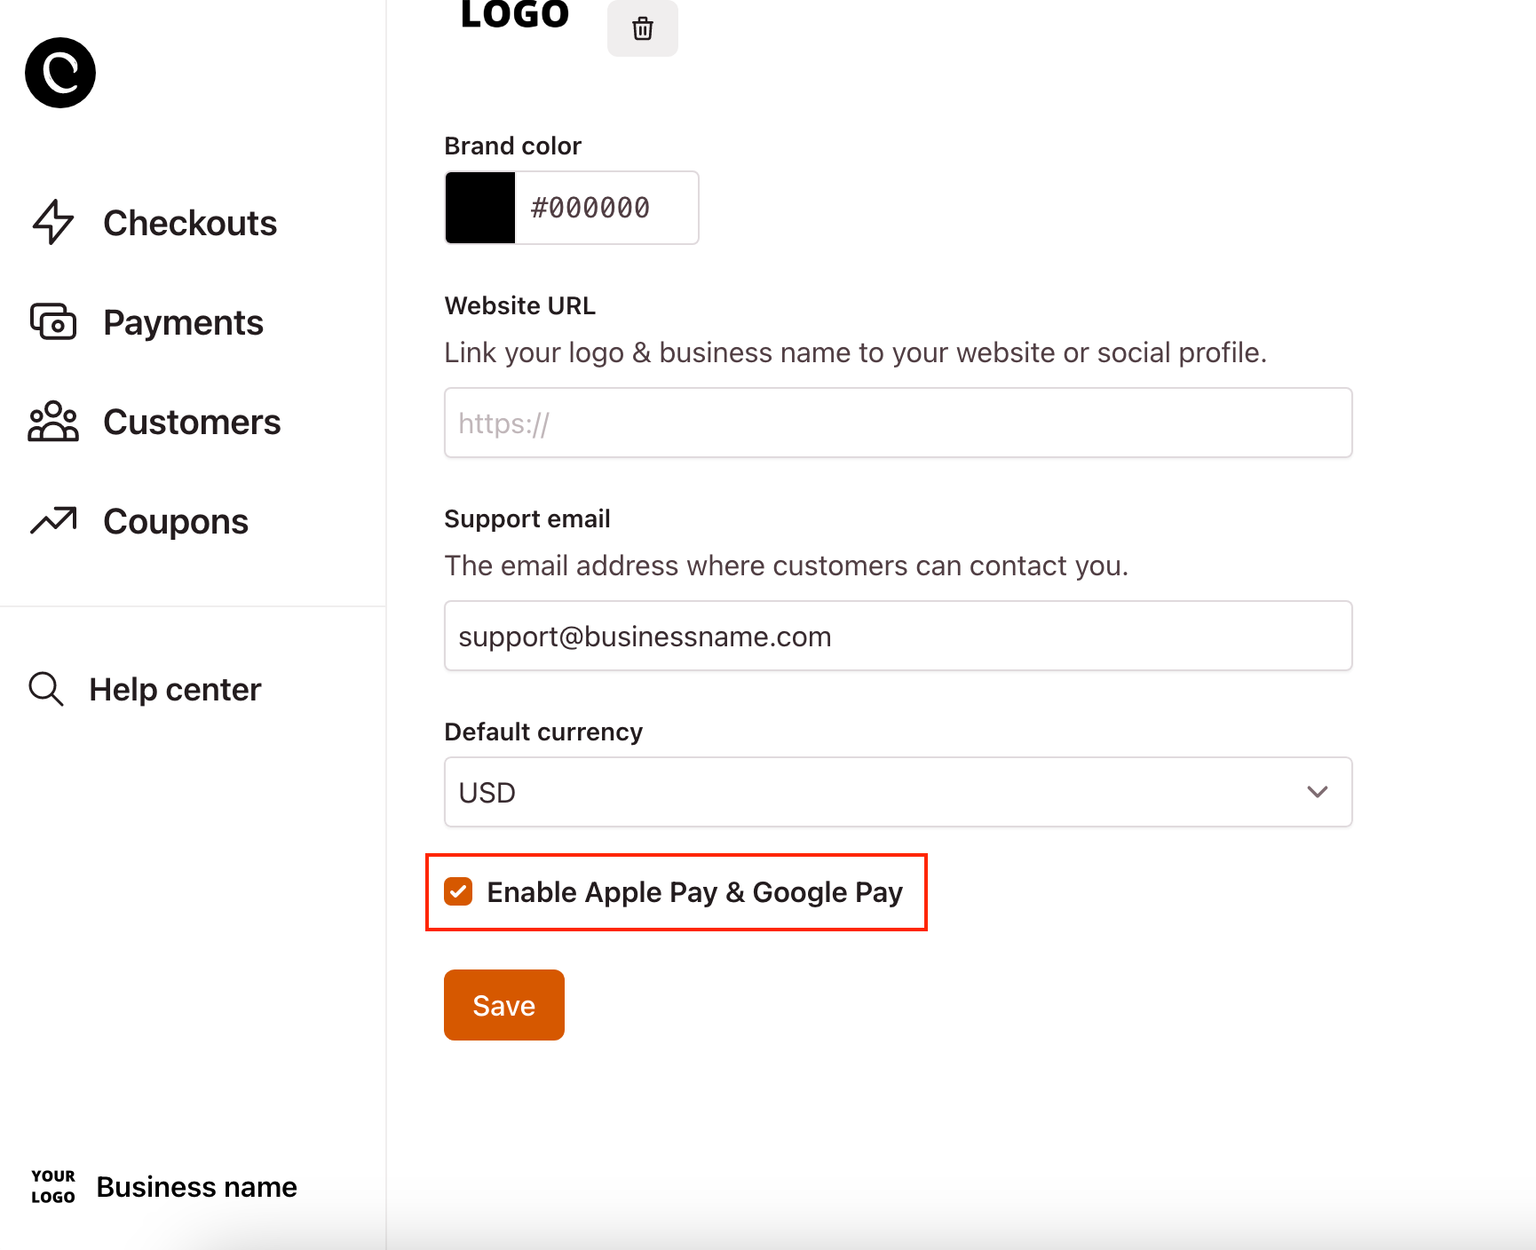
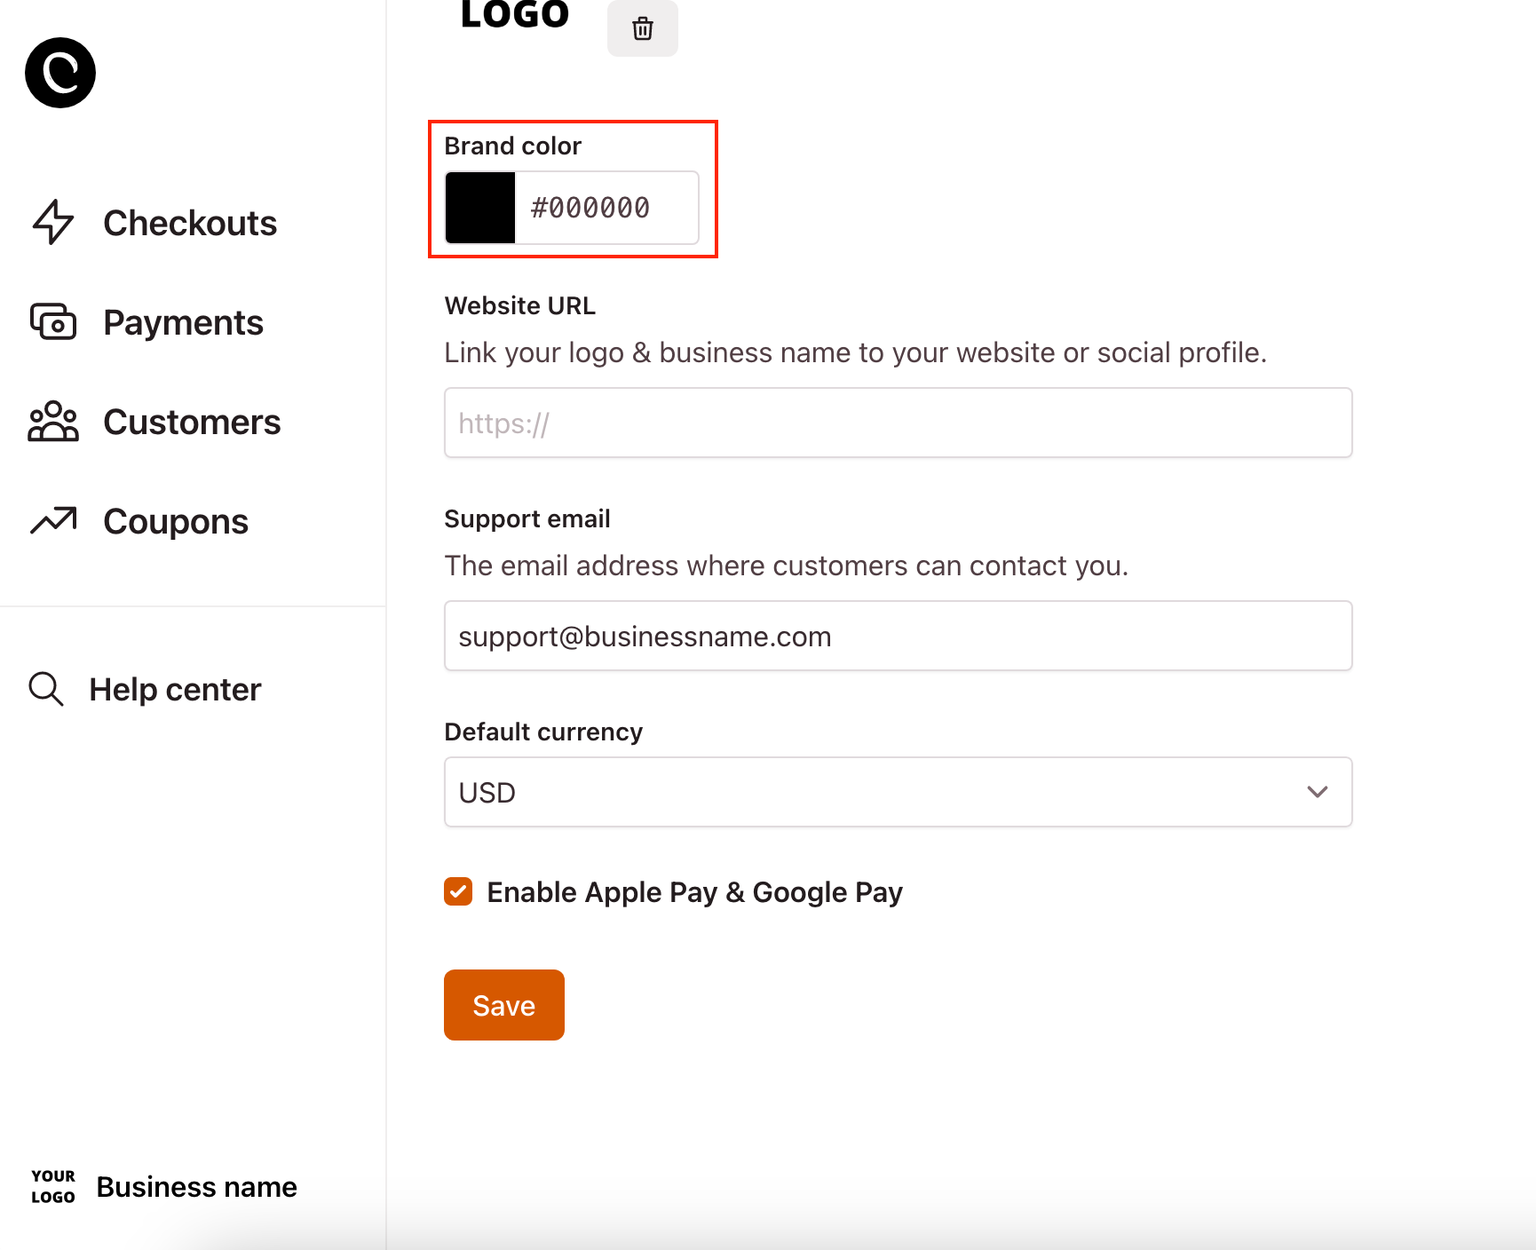
Brand color
Scroll down to change your brand colour and match the color scheme of your site.
Make sure to click Save at the bottom of this page to save any changes made.
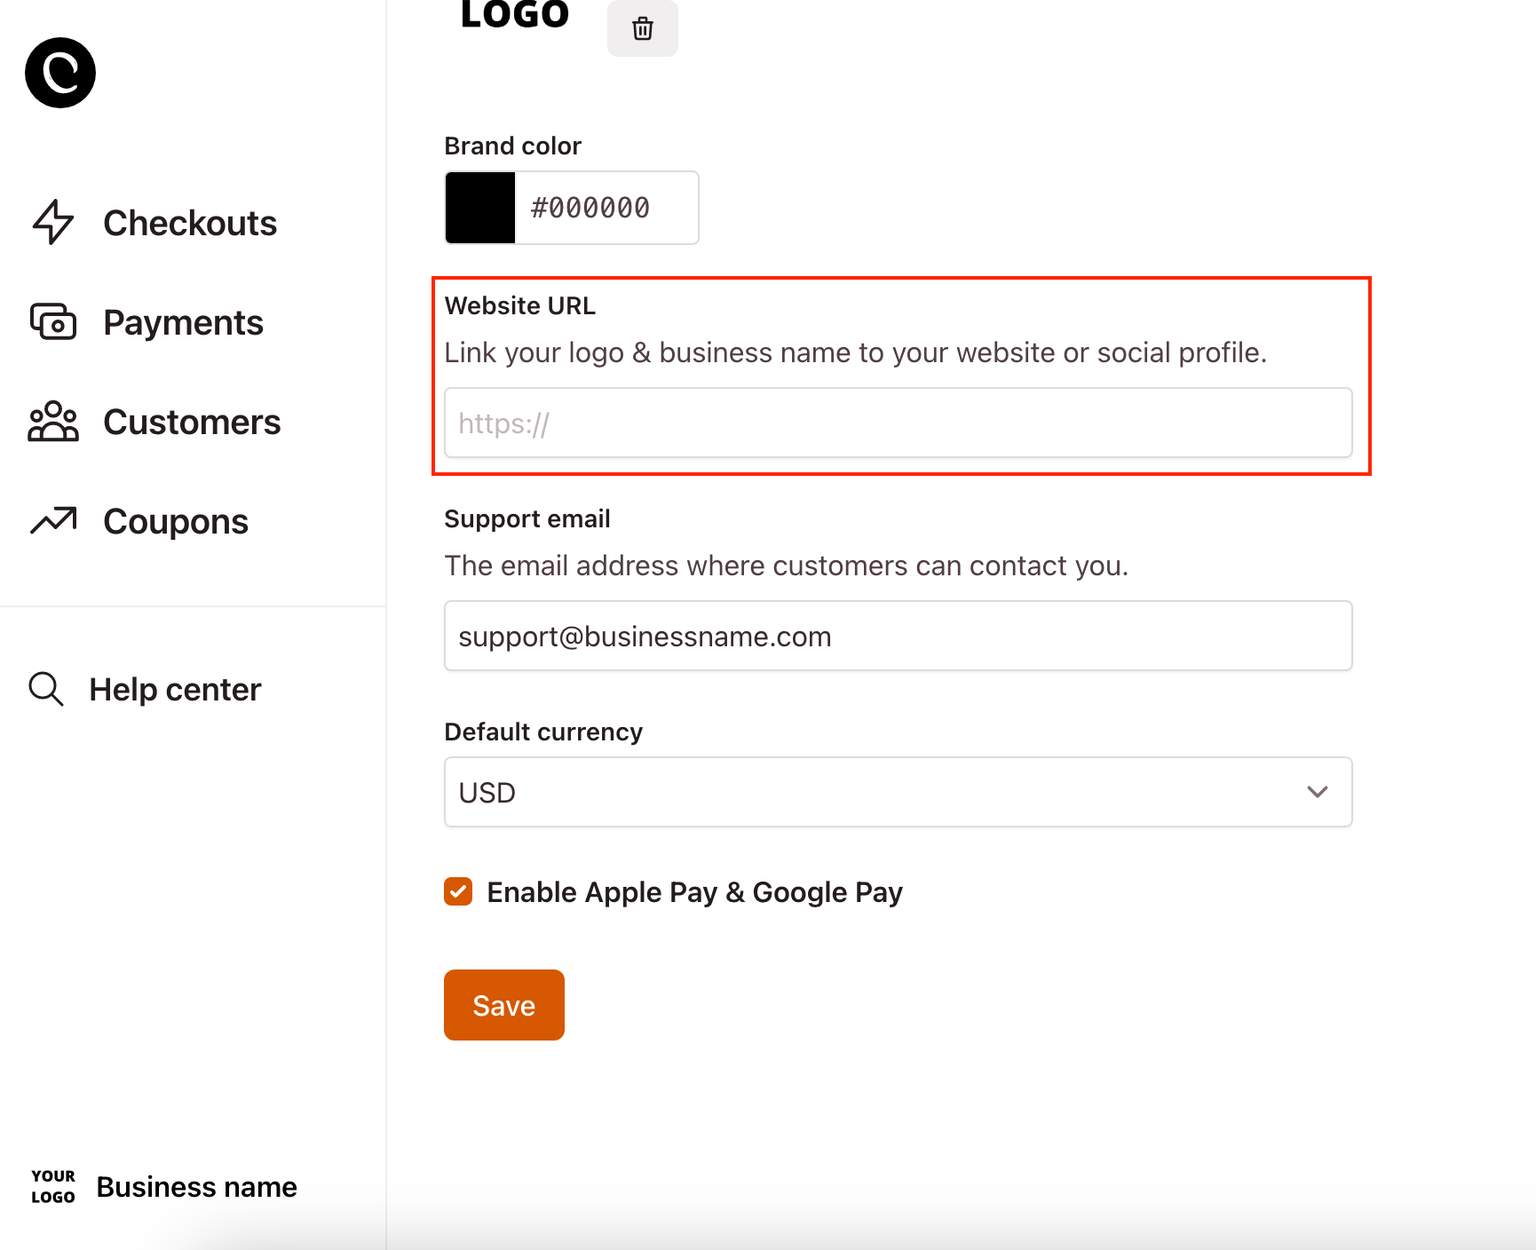
Website URL
Scroll down to link your logo and business name to your website or social profile.
Make sure to click Save at the bottom of this page to save any changes made.
Learn how to add a custom domain to your checkouts here
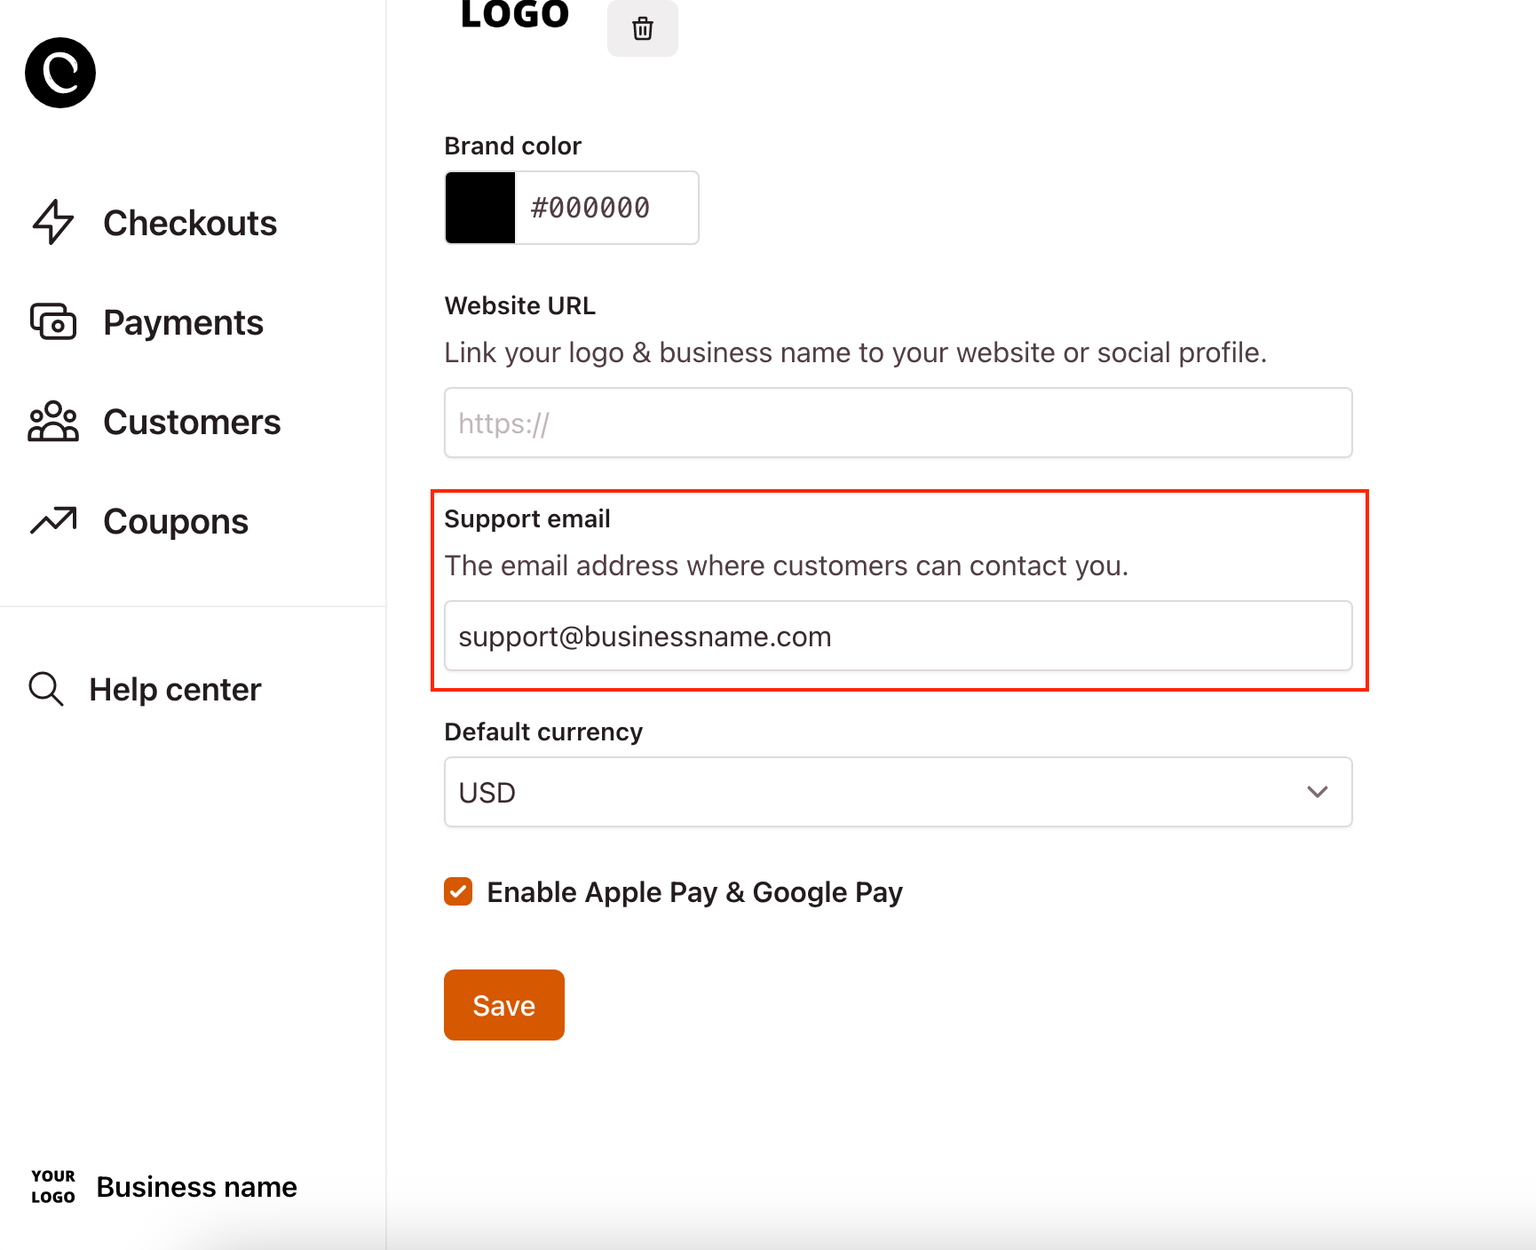
Support email
Here you can enter the email address for your customers can contact you.
Make sure to click Save at the bottom of this page to save any changes made.
Default currency
Here you can select the default currency for your checkouts.
You will still be able to create new checkouts with different currencies.
Make sure to click Save at the bottom of this page to save any changes made.

Enable Apple Pay & Google Pay
Tick the box to enable Apple Pay and Google Pay for your checkouts.
Make sure to click Save at the bottom of this page to save any changes made.
Learn more about accepting payments with Apple Pay and Google Pay here