Confirmation emails
This help article will show you how to send and customize an email confirmation to your customers after a successful checkout or submission.
Checkout Page is a one-page checkout that is easy to customize to match your brand, design elements and communication style.
You can choose to use our default email confirmation or write a custom confirmation to reflect your brand’s tone of voice.
Email confirmation
To add, customize or remove your email confirmation, follow these steps:
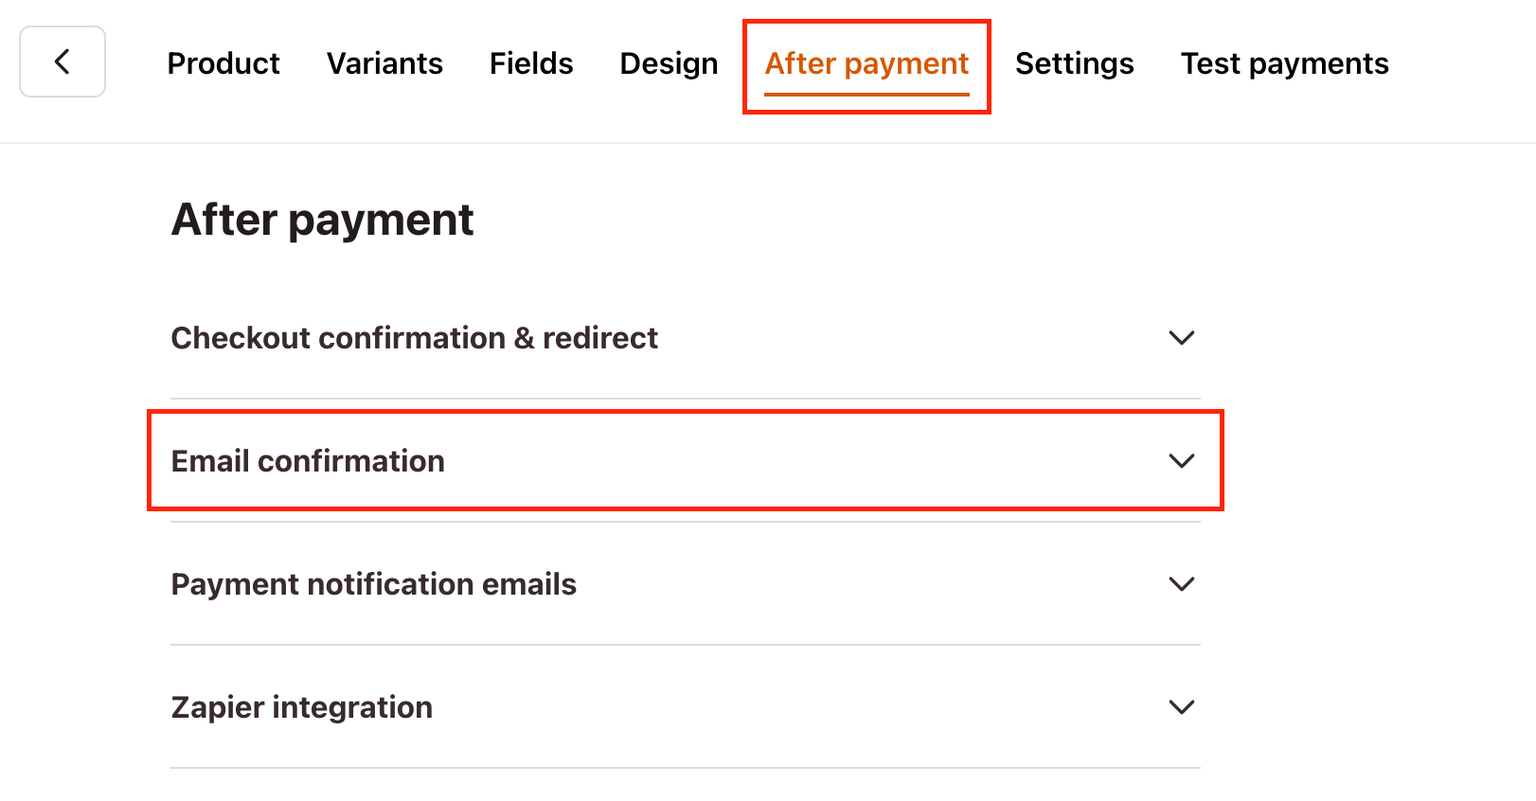
- Open your Checkout Page dashboard and click on any checkout or form
- Navigate to the After payment tab (After submission for forms) and open Email confirmation

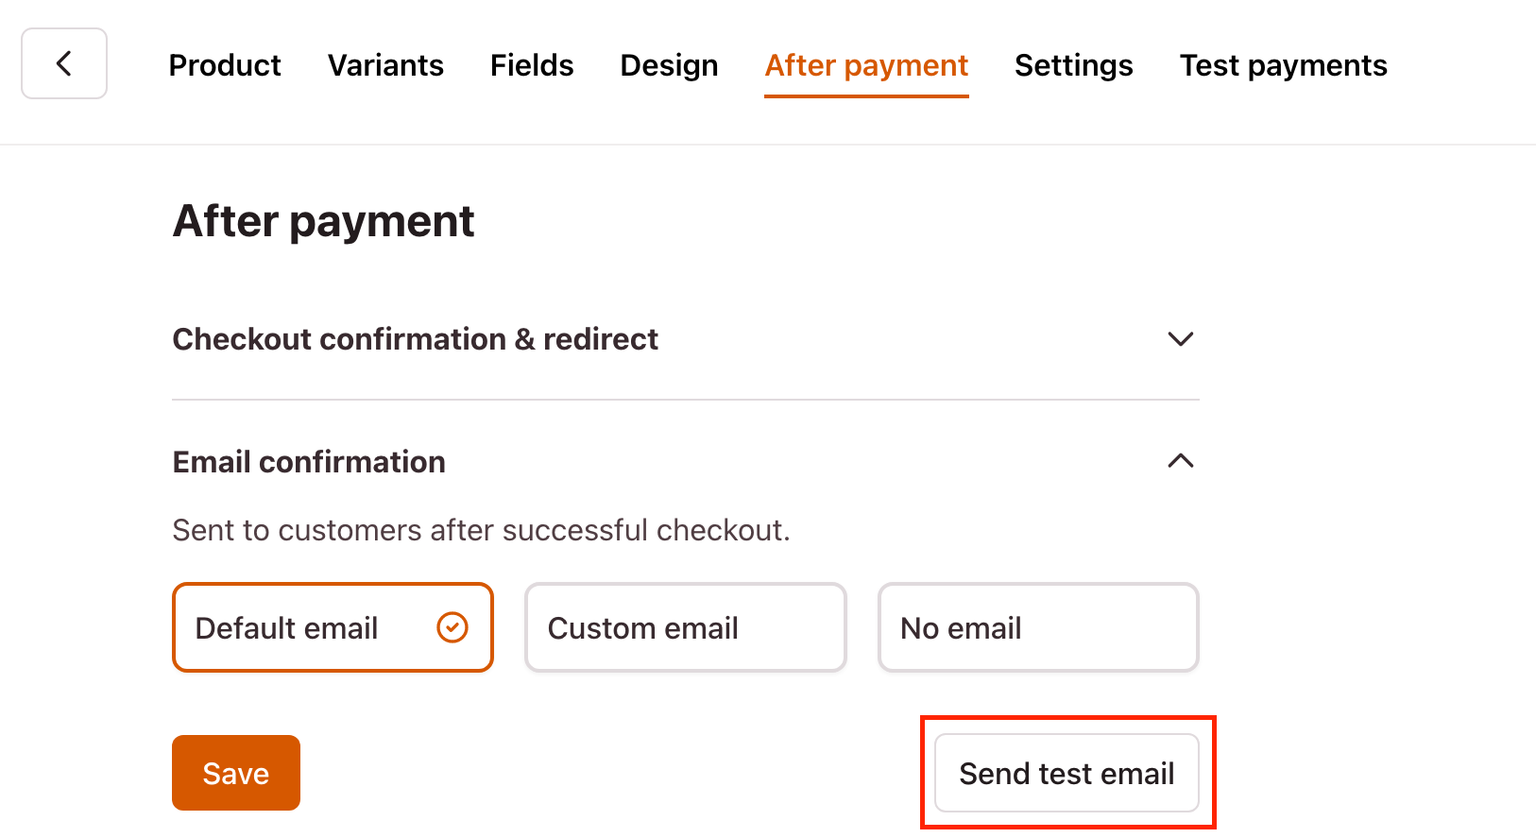
Here you can choose between the following options:
- Default email
- Custom email
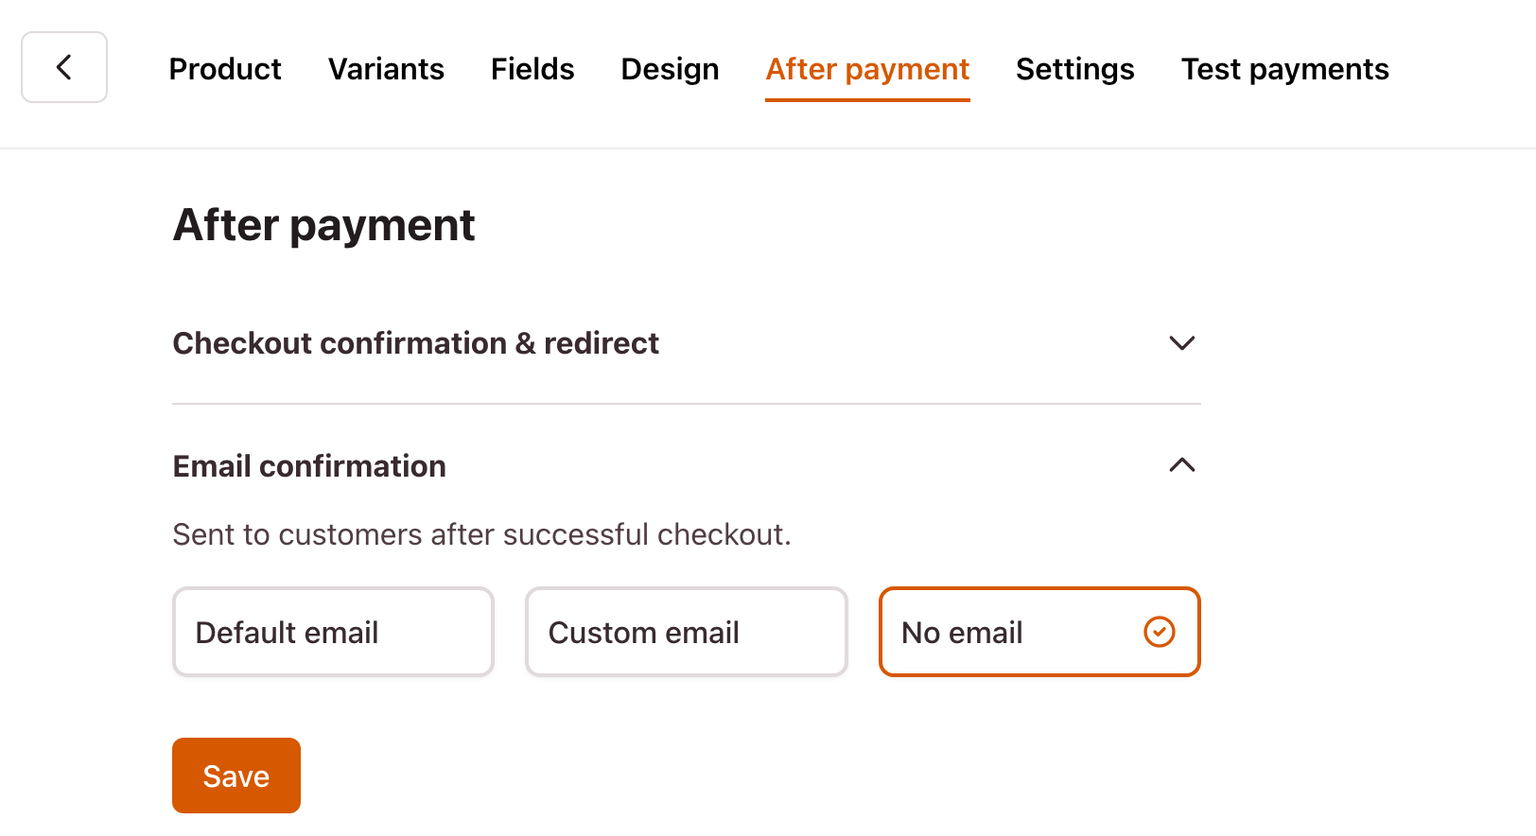
- No email
Default email
To preview the default email, select Default email and click Save. The default confirmation will be shown on the right.
You can also choose to Send test email and preview it in your mailbox.

Our default email confirmation thanks your customer and provides a breakdown of their purchase.
You cannot change the content of the default confirmation.
Custom email
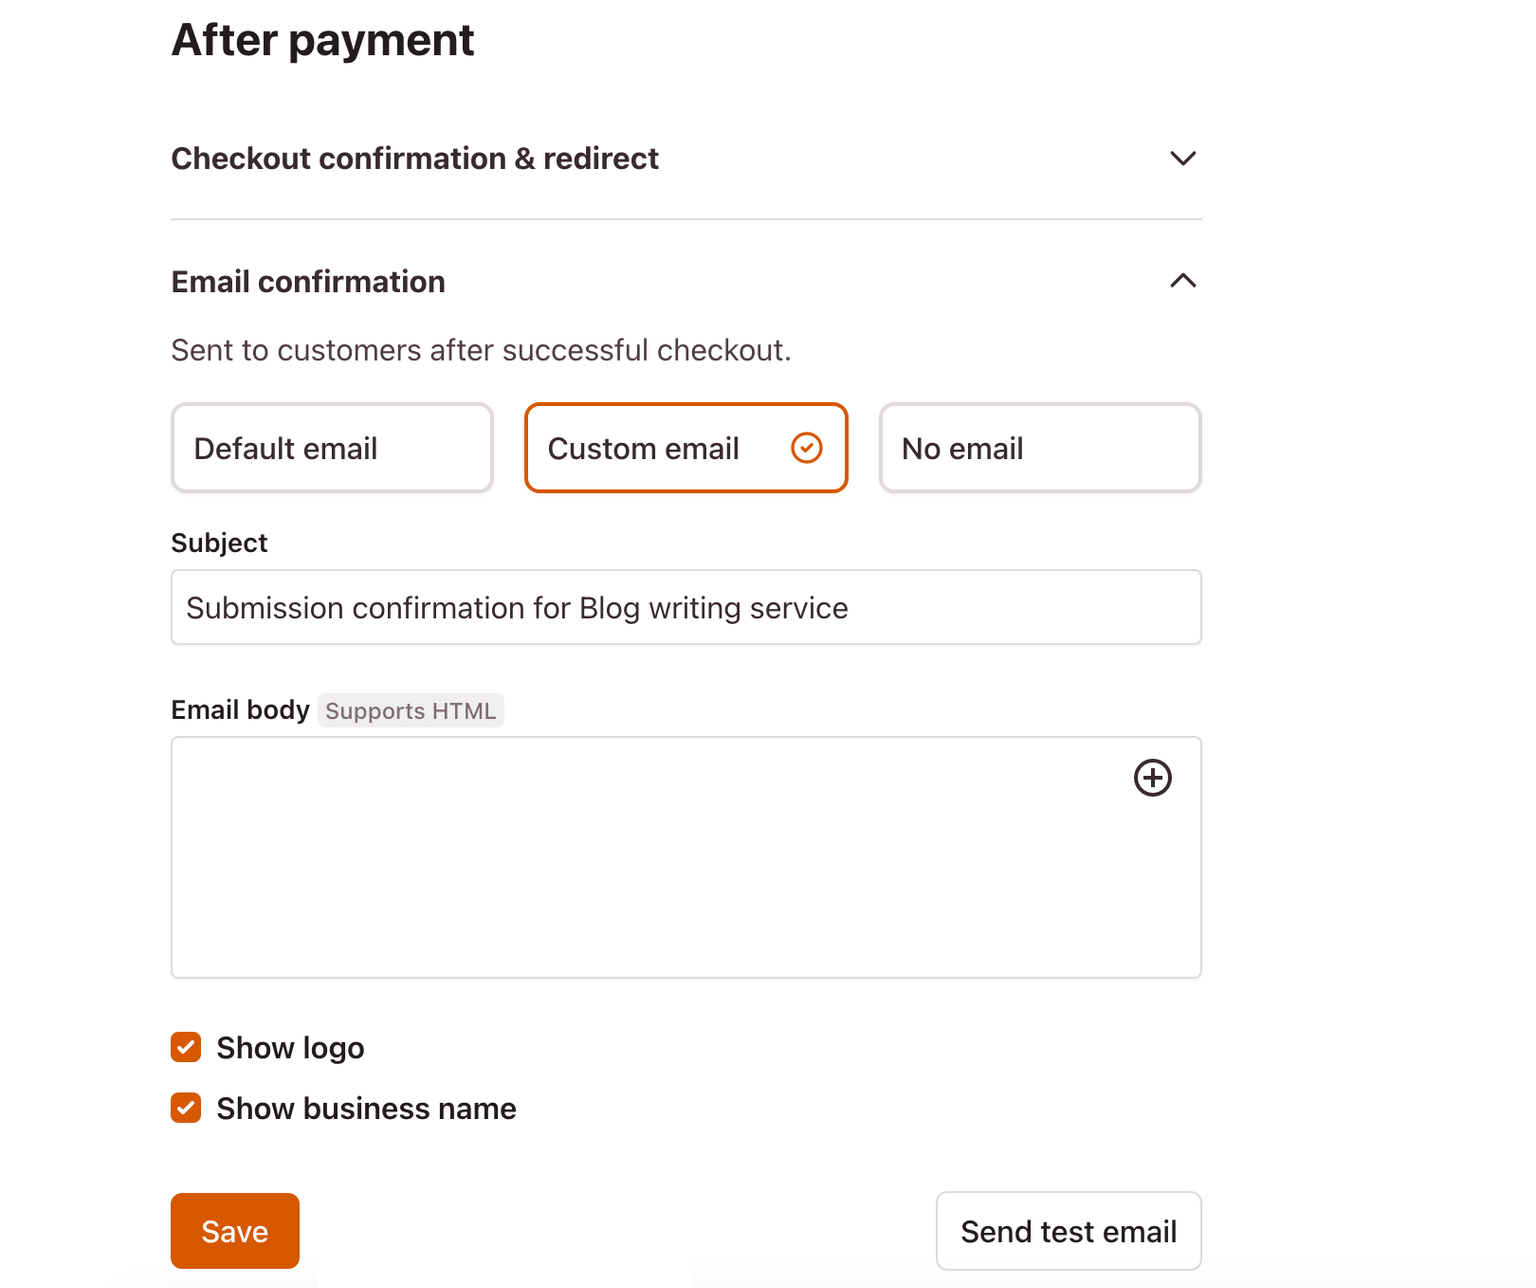
Check Custom email to send a custom email to your customers after successful checkout or submission.

Subject
- Used as your email subject line
- Required and cannot be left blank
Email body
- Optional
- Supports HTML
We recommend using your custom confirmation email to thank your customers, give them a breakdown of their purchase and let them know about any next steps.
To preview your custom email, fill in the details and click Save. Your custom email confirmation will be shown on the right.
HTML support
You can add HTML to your email body to design your email and add links.
Unfortunately, Checkout Page cannot support HTML added to your email body.
No email
Selecting No email will stop an email confirmation from being sent to your customers.

This option can be useful if you want to follow up with your customers in a different way or redirect them to another checkout.
Send test email
For both Default email and Custom email, you can send yourself a test email at any time.
This is a great way to see how the email looks and check you’ve included all the information your customers need.
Click Send test email to send a test email to the address of your Checkout Page account.

You cannot change the recipient of this test email.
Test emails will be sent to recipients added under Payment notification emails.
There is no limit to the number of test emails you can send to yourself.
Custom email confirmation field data variables
You can dynamically insert product, customer, and payment information in your custom email confirmation via the + icon in the text field.
Default field data variables
The following data variables are always available.
- Product title
- Product amount
- Payment date
- Payment status
- Payment method
- Order ID
- Customer portal
- Customer email address
- License key (if enabled)
- SKU
If you add custom fields to your checkout, a data variable will become available for each custom field, via the the + icon in the text field.
Field data variables example
You added a custom text field with the label Name.
Name would now be available for you to use as a field data variable in your custom email confirmation.
Example:
Hey {Name}!
Thanks for your order of {Product title}.
Amount paid: {Product amount}