Query parameters
In this help article, you will learn how to identify and save payment, customer and sales data using query parameters.
In some payment setups, you will want to be able to identify data of a successful charge in your own system. You might want to save the payment to one of your users or save the products your customer paid for. The query parameter feature allows you to do so.
If you add query parameters when you link to your page, Checkout Page will 1. save these to the sale or subscription, 2. save these to the payment or subscription in Stripe and 3. append these to the Redirect URL (if set).
These options allow you to keep track of information around the sale, integrate with third-party services via Stripe and Zapier and save the data in your own system or use it on a confirmation page.
Learn more about integrating with Zapier here
Capturing query parameters
Let’s walk through the scenario of identifying which of your users paid you through Checkout Page.
1. Find the best way to identify your users
In most applications or funnels, each user will have a unique identifier such as id, userId or email. This could also be a phone number, an oAuth token or a session ID. Anything that’s uniquely tied to a user works.
2. Add your query parameters to the URL of your page
Now copy the URL of your Page, e.g. {NEXT_PUBLIC_SITE_URL}/c/checkoutpage/the-selling-on-checkout-page-handbook.
When you link to this URL, you can add the identifier you found in Step 1. Your query parameter could look like this: ?userId=101, userId being the name of the parameter and 101 being the identifier of your current user.
If you want to add multiple query parameters, you can add them with a &, like ?userId=101&productId=110.
The full URL would now look like {NEXT_PUBLIC_SITE_URL}/c/checkoutpage/the-selling-on-checkout-page-handbook?userId=101&productId=110.
Now, anytime a customer completes the checkout form, the query parameters and values will be saved to the sale or subscription and to Stripe.
Using query parameters
Captured query parameters are available in the Payment on Checkout Page, in the Payment on Stripe and will be appended to the Redirect URL if you’re using this.
Let’s see how you can access each of these.
1. Using query parameters on Checkout Page
You can find the captured query parameters in each Payment item on Checkout Page.
From your dashboard, simply go to your Payments tab and click on the sale you’re looking for. You should then see the captured query parameters.
2. Using query parameters in Stripe and third-party integrations
Checkout Page saves all your query parameters to the Payment or Subscription in Stripe. This allows you to keep track of your data in Stripe as well as use it with their webhooks and many third-party integrations.
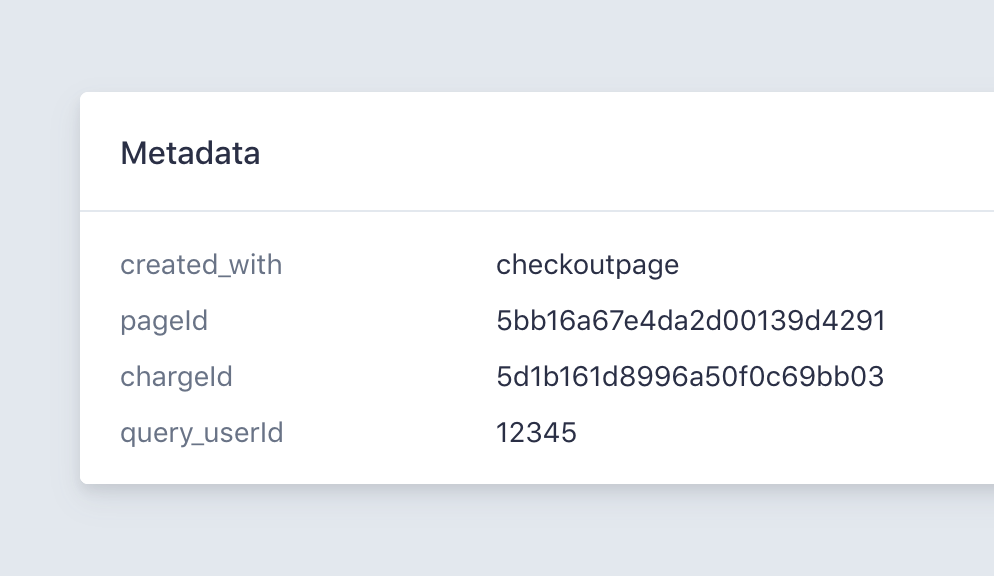
When saving query parameters to Stripe, the name of the parameter is prefixed with query_. That means that userId becomes query_userId. You can find the saved query parameters in each Payment or Subscription item in Stripe, in the Metadata section.
3. Using query parameters with the Redirect URL
If you turn on the Redirect to URL after payment option, your customer will be redirected to your Redirect URL when a payment succeeds.
Learn how to redirect your customers to another URL here
If you used query parameters in the URL to your checkout page, we will append the parameters to your Redirect URL.
With the above examples, this could look like https://mywebsite.com/success?userId=101&productId=110.
Here you can extract those parameters using the technology of your choice and save details of the payment in your database.