Custom domain
In this help article, we'll show you how to add a custom domain to your Checkout Page links.
Please note: to use this feature, you need to subscribe to the Funnel Builder plan.
Sell from your own (sub)domain with our custom domains feature.
By default, your checkout links look like this: https://examplestore.checkoutpage.co/checkout-name
Using custom domains, you can change it to something like: https://shop.examplestore.com/checkout-name
Using a custom domain looks more professional and builds trust with your customers.
How to setup your custom domain on Checkout Page
1. From your dashboard, go to Settings and open the Domains tab.
2. Look for Custom Domain and add your custom domain name.
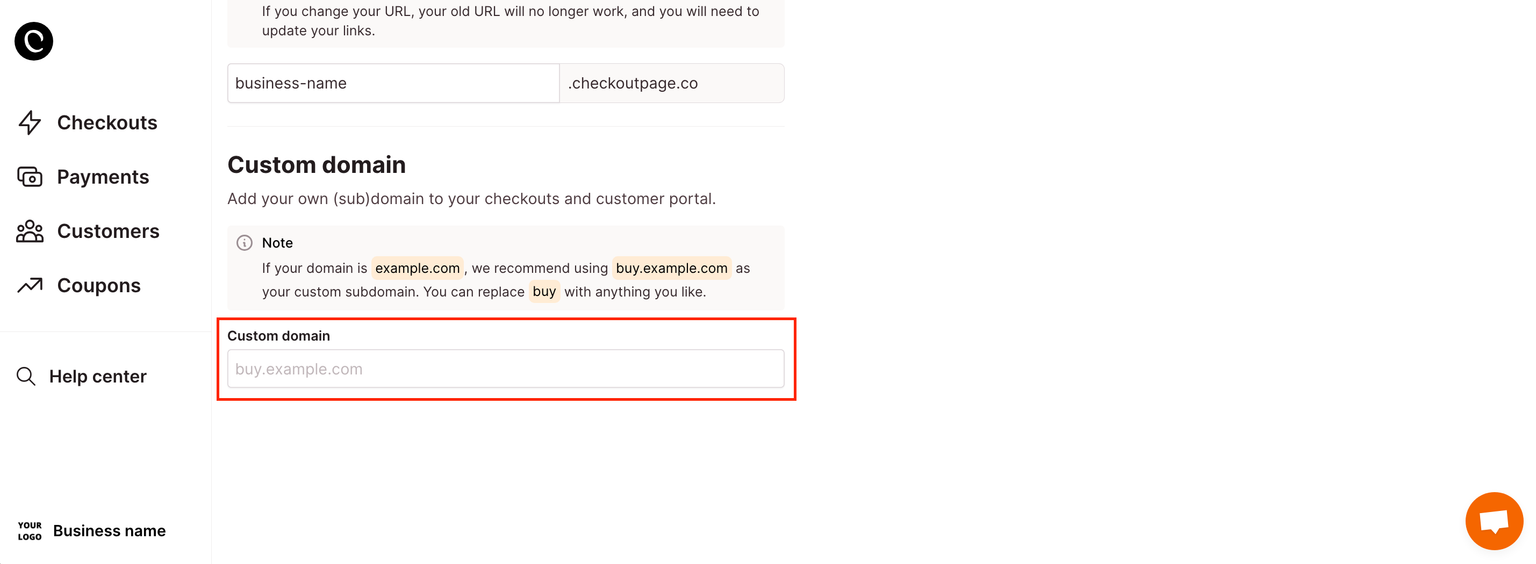
3. We suggest using a subdomain of your domain name. For instance, if your domain is https://bigstore.com, you can use: https://shop.bigstore.com.
4. After you add your custom domain, our system will verify it.
5. Scroll down to the next section to add a CNAME to your domain's DNS settings, which you can find in your domain provider's control panel.
6. If your custom domain passes verification, you'll get confirmation.
Keep in mind, it might take about an hour for your links to start working, as the domain service needs some time to update.
Even with your custom domain, your free Checkout Page URL will continue working.
Adding DNS records
To verify your domain URL, you need to add a CNAME record (or an A record) for your domain, as per the instructions.
Here are the links on how to add DNS records for the most popular domain providers:
- NameCheap: Adding A Records and CNAME records
- GoDaddy: Adding A Records and CNAME records
- Google Domains: Adding A Records and CNAME records
- 1&1 IONOS: Adding A Records and CNAME records
- Gandi: Adding A Records and CNAME records
- Cloudflare: Adding A Records and CNAME records