Redirect to a URL
This help article will show you how to redirect your customer to a website URL after successful checkout or submission.
Checkout Page is a one-page checkout or form that is easy to customize to match your brand, design elements and communication style.
After successful checkout or submission, it is easy to redirect your customer to the next step of your customer experience journey.
How to redirect your checkout
- Open your Checkout Page dashboard and click on any checkout or form
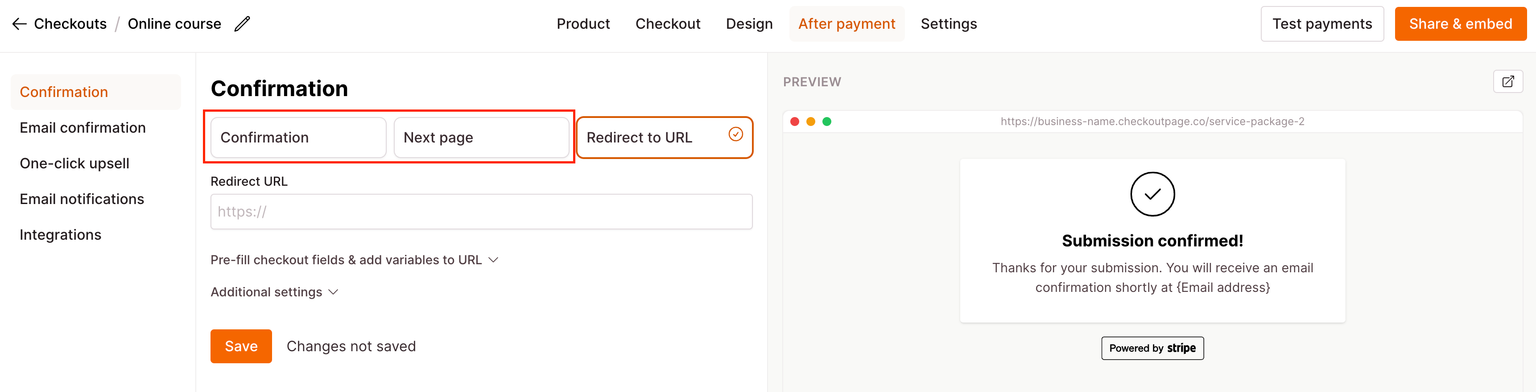
- Navigate to After payment (After submission for forms) and open Confirmation
- Choose Redirect to URL and paste your website URL into the text box Your website URL should start with either:
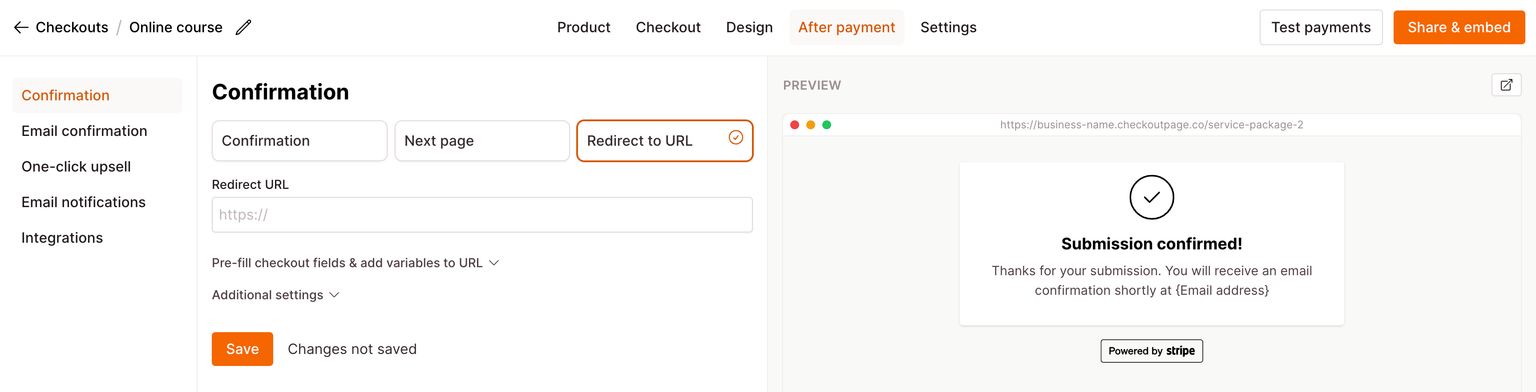
- http://
- https://
- Click Save
That’s it, you’ve now redirected your one-page checkout or form to a website URL.
Please note: When redirecting your checkout, no confirmation message will be displayed to your customer after payment, the redirect is immediate.
Prefill checkout/form fields & add field and variant data to URL
Optionally, you can also prefill your checkout/form fields or add any field and variant data to your page’s URL.
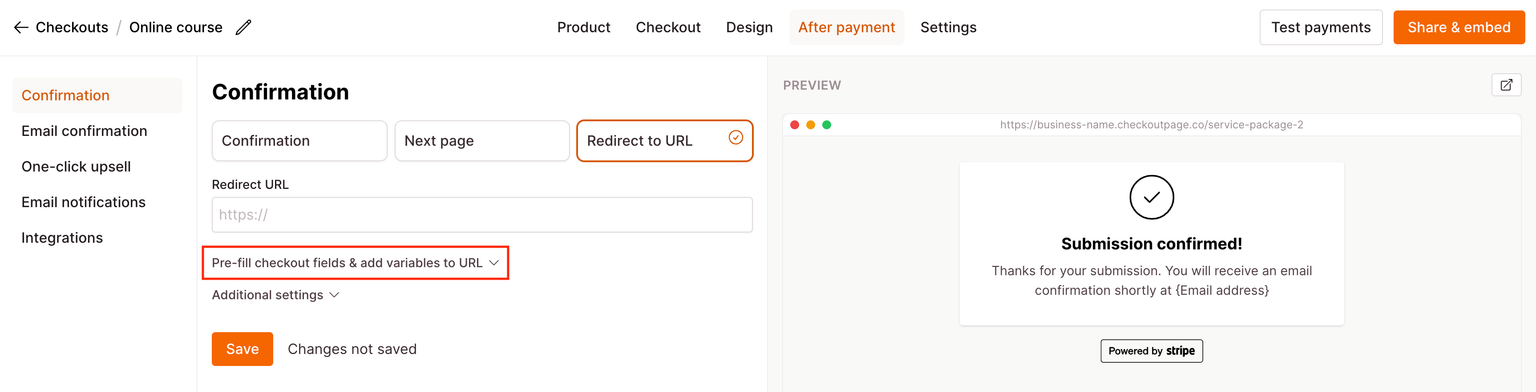
Learn how to add field and variant data to redirect URL here
How to test your checkout redirect
The best way to test your redirect is to make a test payment.
- Open your Checkout Page dashboard and click on any checkout or form
- Navigate to Test payments (Test submissions for forms)
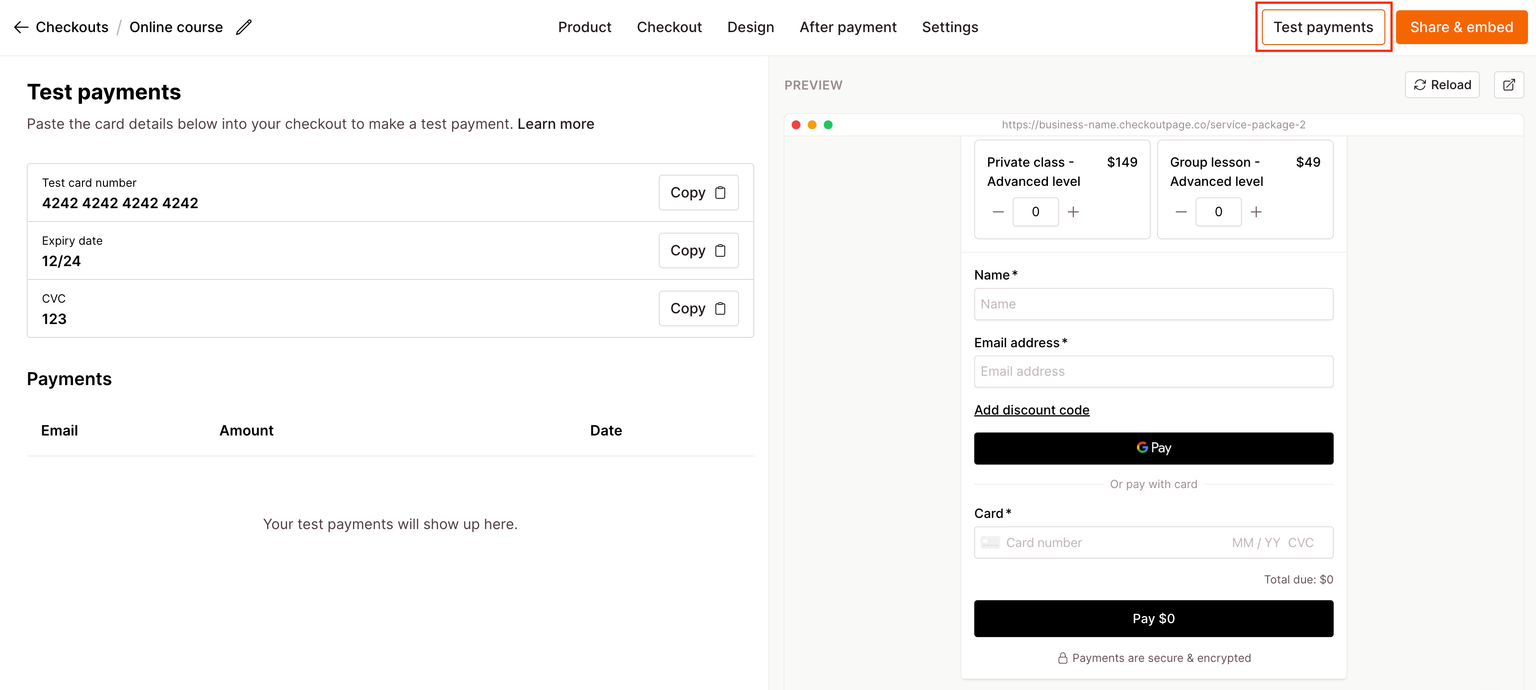
- Copy/paste the test card details into your card field and click Pay or Submit the form ^
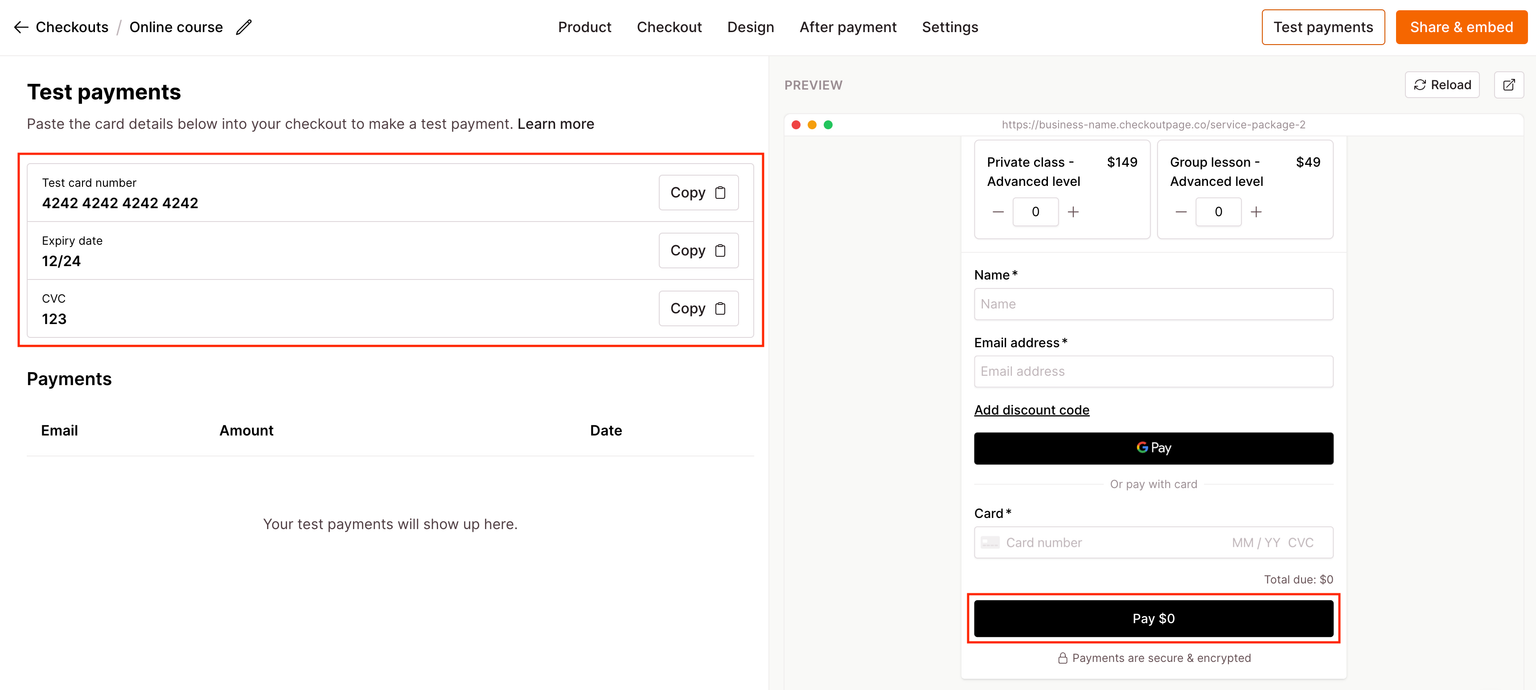
- Wait for your checkout/form to redirect to your website URL
- Update your redirect URL as needed
How to stop redirecting your checkout/form
If you no longer wish to redirect your checkout/form, uncheck Redirect and select from the other two options.
- Select Confirmation to display a confirmation message
- Select Next page to display the next checkout