Save big on ticketing fees with Checkout Page
Checkout Page lets event organizers sell unlimited tickets without those crazy, sky-high fees.
Instead of taking a chunk of your earnings, we keep it simple with a flat monthly subscription fee. No surprises, no hidden costs.
There are no contracts or commitments. Feel free to cancel your subscription when your event wraps up, and come back whenever you're ready to sell tickets again.
Plus, you can start with our basic plan and upgrade whenever needed.
And here's the best part: if you ever want to say goodbye to Checkout Page, no hard feelings!
There's no lock-in; you get to keep your payment history, customer info, and any ongoing subscriptions you've sold in your Stripe account.
Ticket fees and why they're so hated
Selling tickets online can feel like you're bleeding money. It's like these event platforms don't care if you're turning a profit or not.
Some organizers say that after all the costs and ticketing fees, their event might just break even or, heaven forbid, end up in the red.
And here's the kicker – often, organizers are in the dark about how much they'll pocket from their event. That's why they need a platform that grows with them.
We're on a mission to make selling event tickets online affordable for everyone. Our subscription plans start at just $29 a month, covering up to $3,000 in ticket sales. That's only about $0.0097 per ticket sold – compare that to the EventBrite!
We believe Checkout Page is the cheapest way to sell event tickets online, and we plan to keep it that way.
Quick guide to selling tickets on Checkout Page
Ready to start selling event tickets in a snap? Here's a quick guide for you:
Sign up
First things first, sign up for an account. We've got a 7-day free trial, so you can explore the platform, sell some tickets, and see if it’s right for you.
Connect with Stripe
After signing up, the next step is connecting your Checkout Page account to your Stripe account. It's a breeze and just takes a couple of clicks. Once it's set up, you're good to go – no need to fuss about it again.
Why Stripe?
We use Stripe for payment processing. Your event funds flow directly into your Stripe account; we never held them on the Checkout Page. Payouts to your bank account? All are handled seamlessly in your Stripe account.
That's it! You're now on your way to hassle-free event ticket selling. Easy peasy, right? 🚀
Create an event
Let's dive into the exciting part: creating your event! Follow these easy steps:
- Go to your dashboard: Head over to your dashboard and click on Create page, then choose Checkout
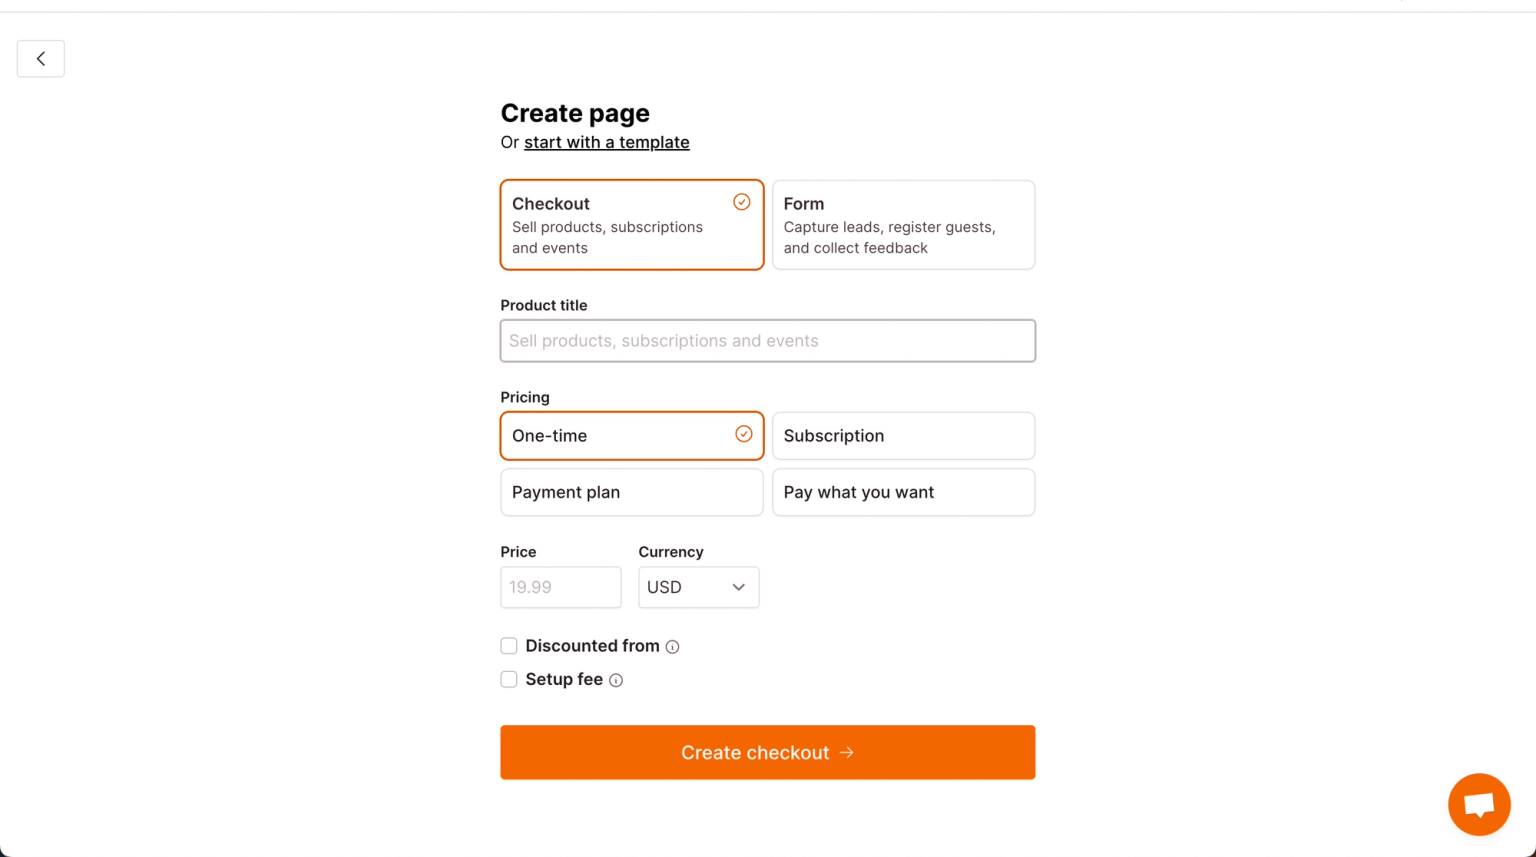
- Add event details: Add a catchy title and set the price for your event. If you have different ticket types, add a 0 in the price field; you can add those ticket types in the next steps.
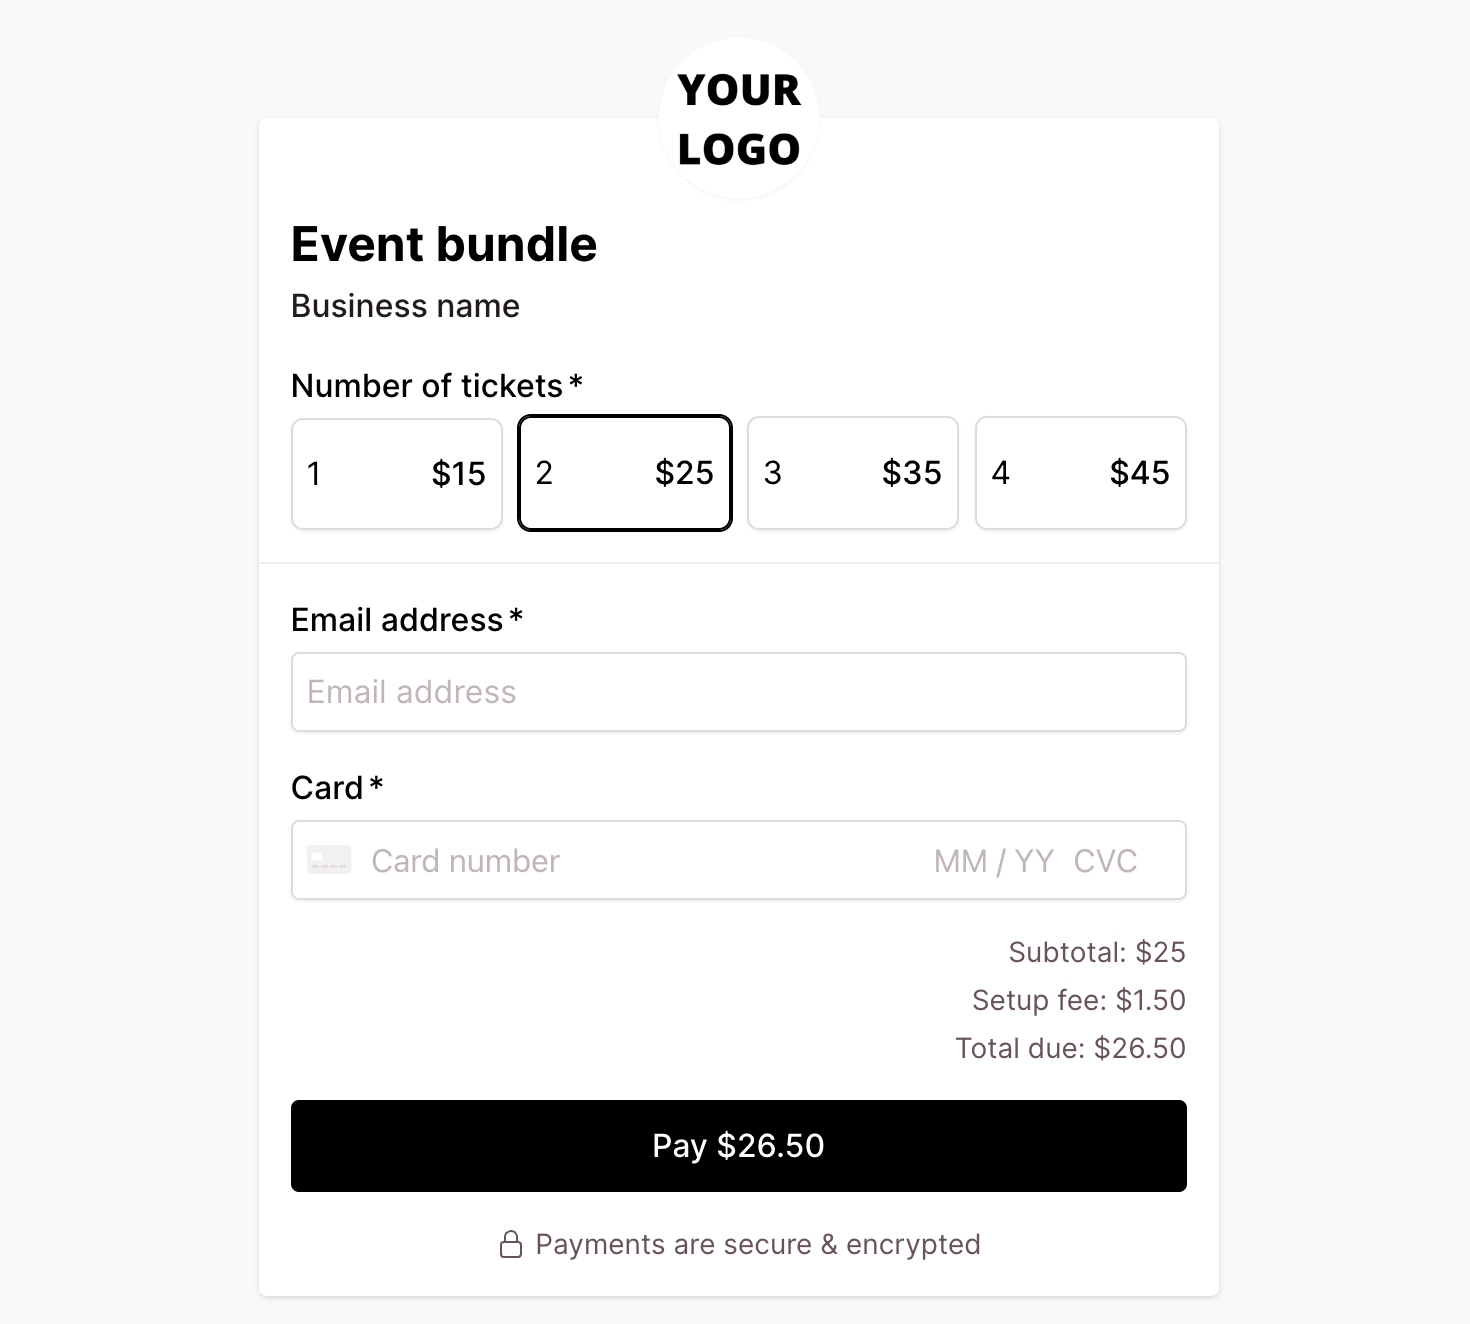
- Set a booking fee: If you want to charge and keep a booking fee, hit Setup fee (you can change the label to Booking fee later). Tick Multiply by quantity to apply the setup fee to every ticket sold.
- Enter your event start time and location: In the next step, enter your event's start and end time, location, and other details in the description box. Pro tip: You can use HTML to format your event info and make it look snazzy!
And there you have it – your event is ready to shine! 🌟
Add different ticket types
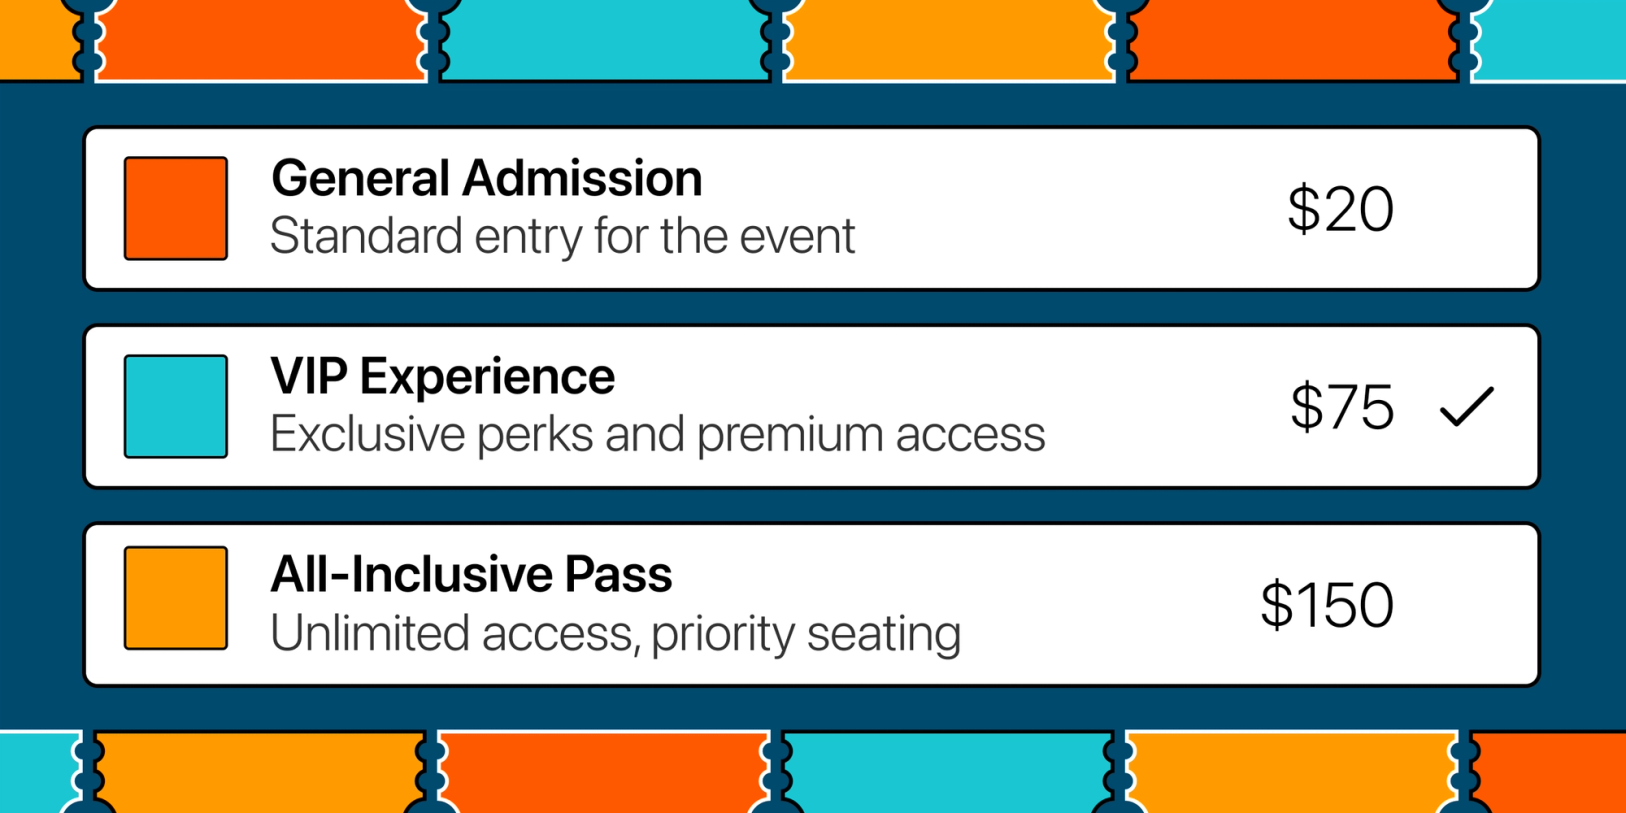
If you want to offer different ticket types, for example, General Admission and VIP, you would use a variant to do this.
Head to the Variants section and click Add variant to get started.
- Name your variant
Type Ticket types as the variant name.
- Add ticket types and prices
Enter the name (e.g., General Admission) for each variant option and set the price (e.g., $49).
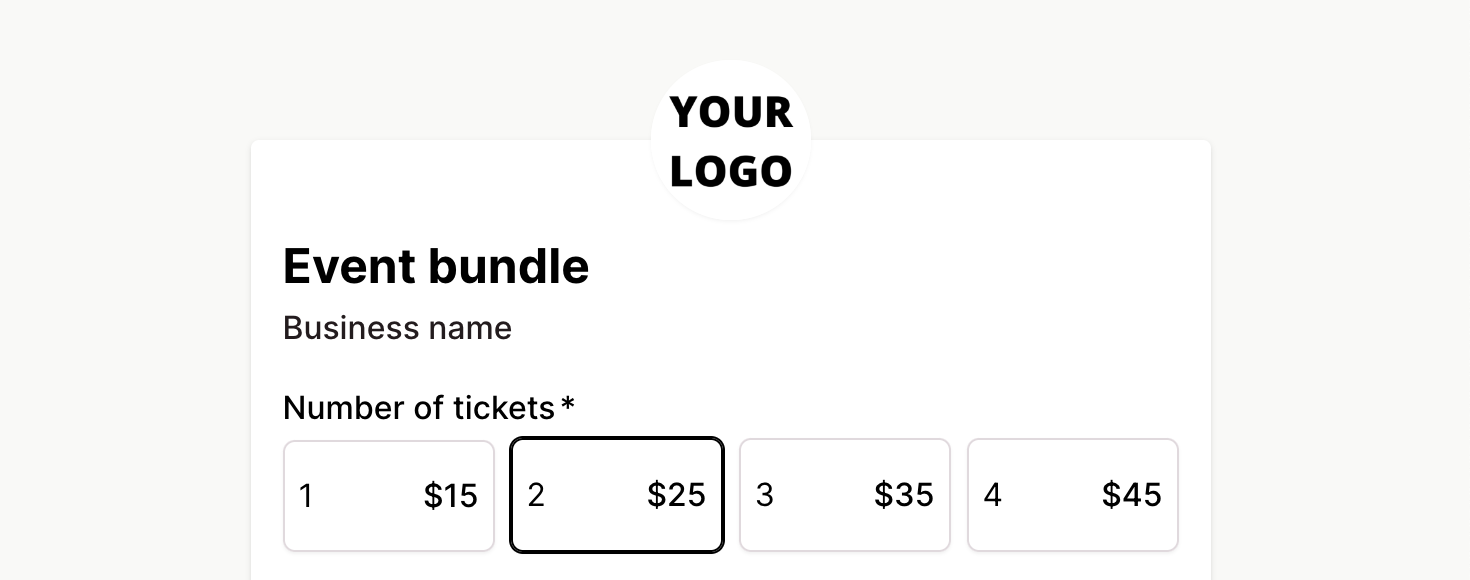
- Enable quantity selection
Under Settings, check Quantity per option and click Save to let guests choose the type and quantity of tickets.
- Make your variant required
Ensure you make the variant required so that your guest must select a ticket type and amount.
Here are some other things to improve the ticketing experience:
Customize layout
Explore layout options in Settings and Layout to set up and change the appearance of your ticket variants.
Unlimited ticket types
There are no restrictions on the number of ticket types you can add to your events.
No additional fees
Regardless of event cost or ticket quantity, Checkout Page doesn’t charge extra fees.
Set your ticket availability
There are two ways to set ticket availability:
1 - For single-price events:
- If your event has a single price, head over to Settings, then Inventory.
- Uncheck that Unlimited stock box and set how many tickets you've got.
- Each time someone grabs a ticket, we'll drop your stock count.
2 - For multiple ticket types:
- Now, if you've got a variety of ticket types, skip the above step.
- Jump to Variants, then Settings.
- Give that Manage stock box a tick and set availability for each ticket type.
- The stock decreases with each purchase of a particular ticket type.
With Checkout Page, it's like having your own backstage pass to easy ticket management. 🎟️✨
Collect attendee information
We’ve made it easy for you to collect attendee information when selling event tickets.
Head to Fields and add an unlimited number of custom fields to your event to capture contact details, ask questions, and gather preferences.
You can add text fields, dropdown selects, checkboxes, and a quantity selector.
If you want to collect your guests' information after they’ve purchased their tickets, you can easily do this with our multi-step checkout/form funnels. Or by creating a form and adding it to your guest's confirmation email.
Design your event, make it fit your brand and website
Next, you’ll want to make your event on-brand by adding your logo and colors.
Head to the Design tab to add your branding here.
Our Checkout Page won’t be shown to your customers. We understand that your events are your events. Unlike some other event platforms that seem to think your events are their events.
In this section, you can also hide page elements and change the layout and colors.
If you want to change the labels in your event, you can change or translate them into Custom labels.
After payment steps
Send your guests a confirmation email and more
After your guests purchase their event tickets, you can choose what happens next and can take the opportunity to earn more revenue with upsells.
You can choose between the following next steps:
- Show them a confirmation message
- Display an upsell offer
- Redirect them to a new page
- Send them a confirmation email
We won’t go into a lot of detail on this section in this post, but you can find detailed instructions in our Help Center or just reach out on our live chat, and we’ll walk you through anything you need help with here.
Embed your event on your website
You’ve set everything up and made it to the last step!
Now it’s time to embed your event on your website and start selling tickets to your event.
Our event embed works on any website or landing page builder. Just copy and paste the embed code onto your page (here's how to do it). It’s very easy and doesn’t require any technical knowledge.
If you don’t want to embed your event on your website and would instead prefer to share a link to our hosted event pages, just copy the event page link and share it with your guests.
You can add our event page link to a button on your page, share it in messages or emails, and link to it from your social media profiles.
Create an attendee list and automate workflows
We offer a direct integration with Google Sheets that makes for a simple and easy way to manage an attendee list.
You can think of Google Sheets as a free and easy-to-use CRM, attendee list, and database. It’s great!
Plus, if you copy-paste your Sheet into ChatGPT, it can give you some interesting insights! Why not give it a try?
We also offer integrations with Zapier and Webhooks so that you can send payment and customer data to thousands of other apps and trigger automation.
That’s it! You’ve made it to the end, and you’re ready to maximize your event revenue by saving on the eye-watering ticket fees that other event platforms charge.
Checkout Page is different, we’ll help you sell event tickets whilst you keep most of your revenue.
If you have any questions about how to use our platform to sell events, we’re very easy to get in touch with on our live chat, and we can always jump on a quick video call and talk through your needs.
We look forward to helping your event tickets go through the roof!
Thanks, Team Checkout Page


