Creating a seamless event experience for attendees begins right from the registration process. Whether you’re planning a free or paid event, online registration forms do the heavy lifting of handling data collection from multiple people, so you don’t have to do it manually.
What is an event registration form?
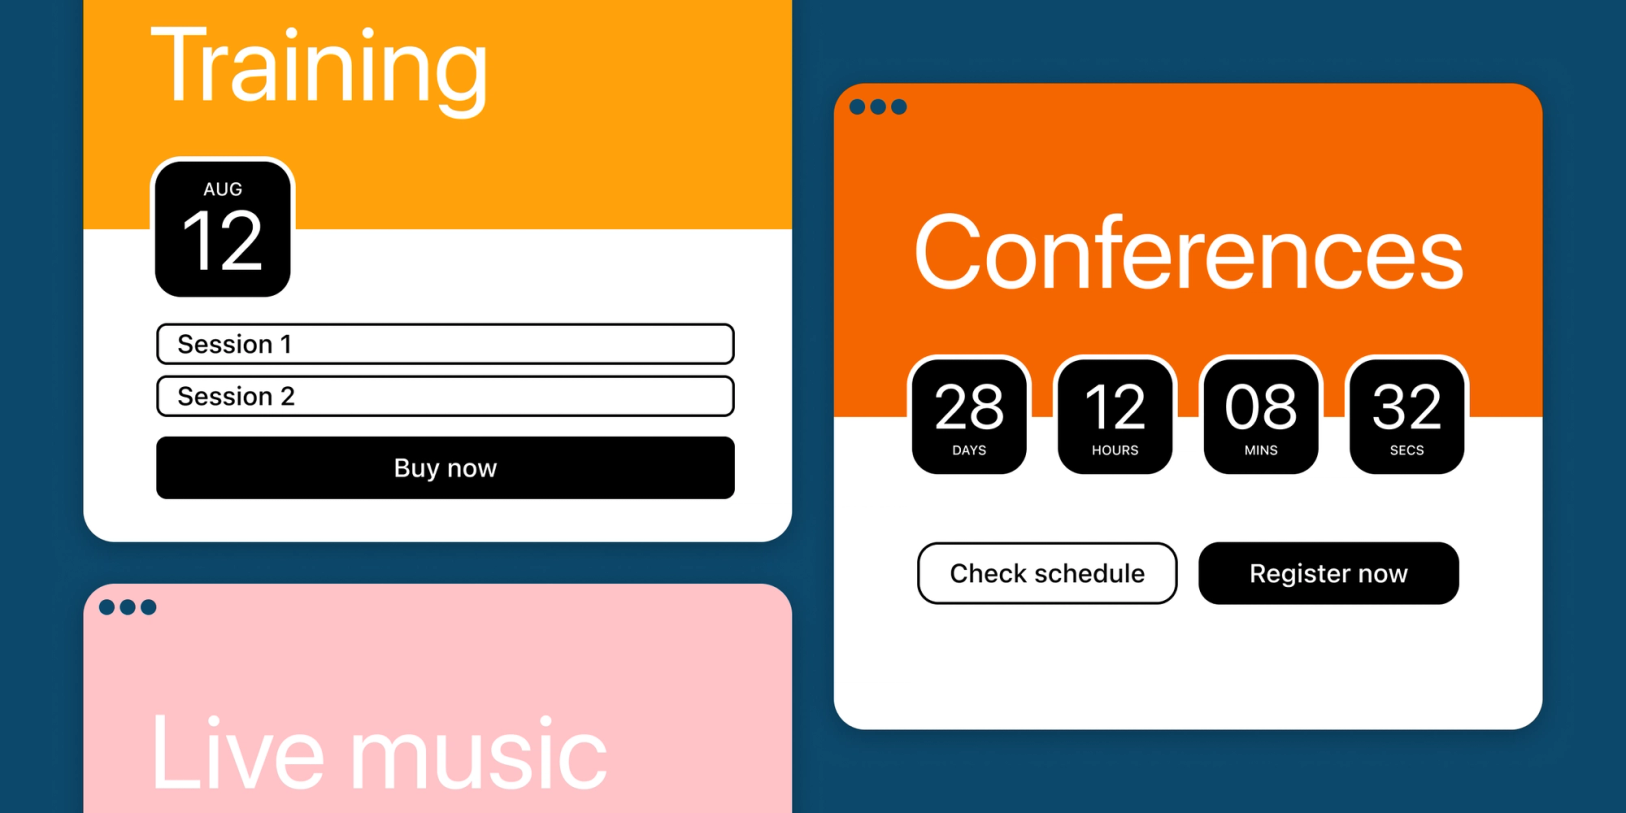
Online event registration forms are tools used by organizers to gather necessary information and preferences of attendees. They are commonly found on event registration pages and event landing pages, where visitors can register for an event at their own time and convenience.
This registration process step is crucial for event planners and organizers, as the data will help align the event experience with registrants' profiles, expectations, and specific needs.
💡Tip: You’ll get a list of attendees from the signups—this is necessary for a seamless event check-in process!
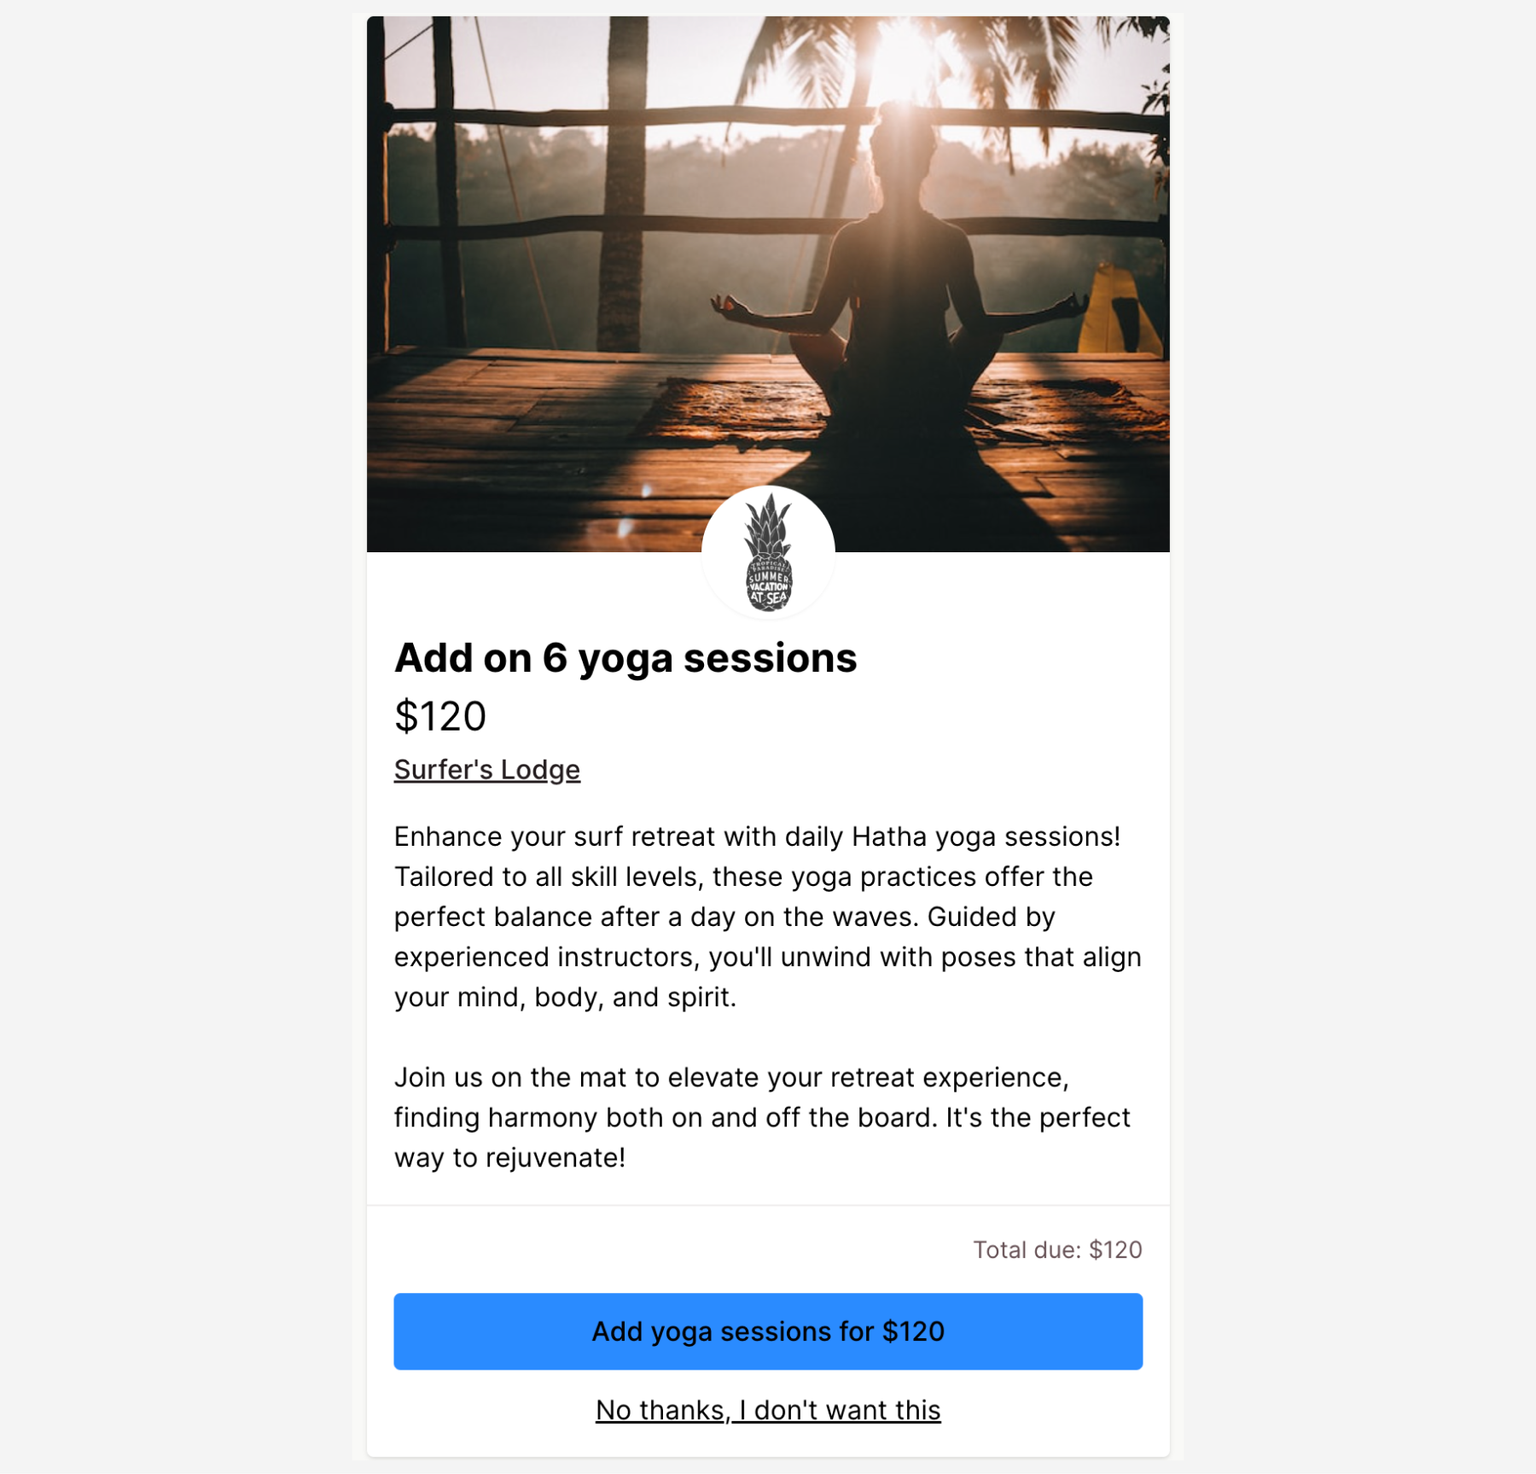
Example retreat signup form template:

Online event registration forms are used in event planning to:
- Collect attendees’ information (e.g. name, contact details, job title)
- Manage attendance numbers (for venue planning, logistics, F&B)
- Gather special requirements (i.e. dietary restrictions, allergies, accessibility needs)
- Facilitate event check-in (or attendance taking for virtual events)
When someone registers for an event, they either give their thumbs up to show up or give their contact info in exchange for more event details. It’s a clear sign of interest in your event, so take this chance to leave a good impression!
The event registration forms may also contain payment capabilities for paid events, either for a deposit, split payments (installments or payment plans), or full payment (e.g., ticket sales for a gig).
💡 Tip: Event registration forms help you better plan and manage events, regardless of their size or type.
Event registration form templates
Save time and get ideas for your forms by using one of these templates:
📃 Reservation and deposit form template (with payment)
📃 Conference registration form
📃 Conference registration form with payment
📃 Retreat registration form with payment
📃 Retreat registration form upsell
📃 Online webinar/virtual event registration form
📃 Online webinar/virtual event form with payment
📃 Halloween event form (with ticket sales)
📃 Multi-day seminar registration form (installments/payment plan)
📃 Dinner party/social event RSVP form template
📃 Volunteer event registration form template
See all event registration form templates here
Best practices for event registration forms
An event form is the digital equivalent of an invitation card, so you must set good first impressions. Using form design best practices, you can generate excitement in potential attendees and make them look forward to the event.
Do
✅ Keep the form simple and short
✅ Make it clear what people are signing up for (such as including event images)
✅ Incorporate organizer info (i.e., logo, company, or brand)
✅ Display trust symbols (e.g., we use Stripe, a secure payment processor)
✅ Confirm registrations with a ‘Thank You page’ or email
✅ Ensure the form is mobile-friendly
Don’t
❌ Copy online registration form templates without customizing them to your needs
❌ Don’t collect unnecessary info (e.g., attendees’ mailing addresses for an online conference)
❌ Force users to create accounts to sign up for the event
❌ Neglect privacy concerns (e.g., GDPR)
❌ Hide branding or contact information
How to create an event registration form with Checkout Page
Step 1: Create a new event page
Upon logging in, you’ll first see the dashboard.
Click on ‘Create pages’ on the top right of the page & then select 'Event'

Step 2: Add tickets
Add one or more ticket types for your event, with a quantity applied if you need to manage numbers:

Step 3: Unique event page vs embed on your website
Decide where you will place your event page.
- Choose 'Hosted page' for a standalone, unique event page with a shareable link (no website required). For sharing on social media, newsletters, and direct messages.
- Choose 'Add to site' if you want to embed the event form on your website or as part of an event landing page.
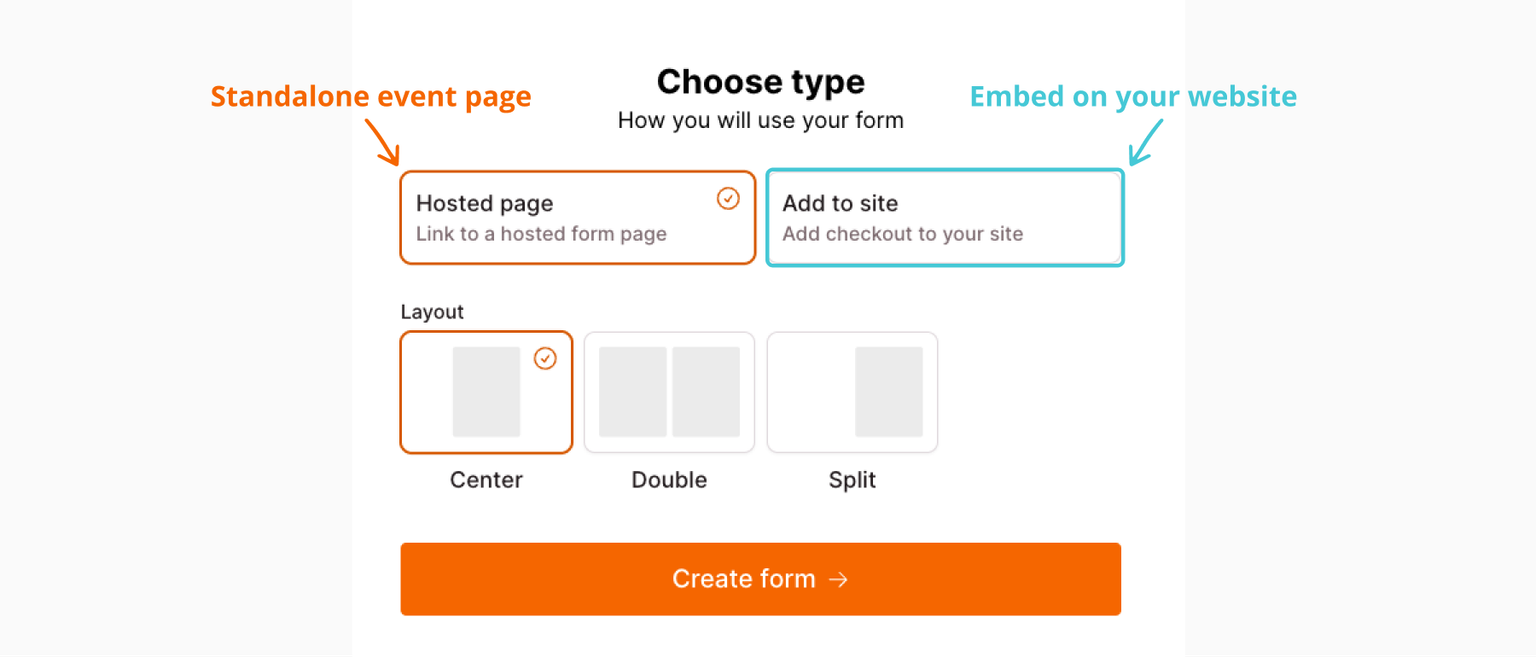
Choose a layout, then click 'Create page →.'
Step 4: Add an event description
Add a description for your page and let people know all about your event:

Include relevant information about the event, such as:
- Event purpose/goal
- Target audience
- Date and time
- Location
- Schedule or agenda
- Cost, fees, and prices
- Speakers, partners, or co-hosts
Cancellation or refund policies (or a link to them)
💡 Pro tip: Spice up your event descriptions with what makes it special! Highlight unique offerings, speakers, or activities that set it apart.
Step 5. Add images
Add images that are on brand and show registrants what your conference is about:

Step 6. Use 'Groups' to create different ticket categories:
Creating a group helps you organize your ticket types. For example, a group for full conference tickets, and a group for day tickets only.

💡 Pro tip: Remember to test payments before sending the link to potential attendees!
Related article: How to create a coupon or promo code for your event form
Step 6.1 Add ticket types to your group
Each group can contain multiple ticket types:

Step 7: Add form fields
You can add and customize form fields to collect attendees' needed information.
Under 'Checkout' → 'Fields,' add, remove, and rearrange form fields.
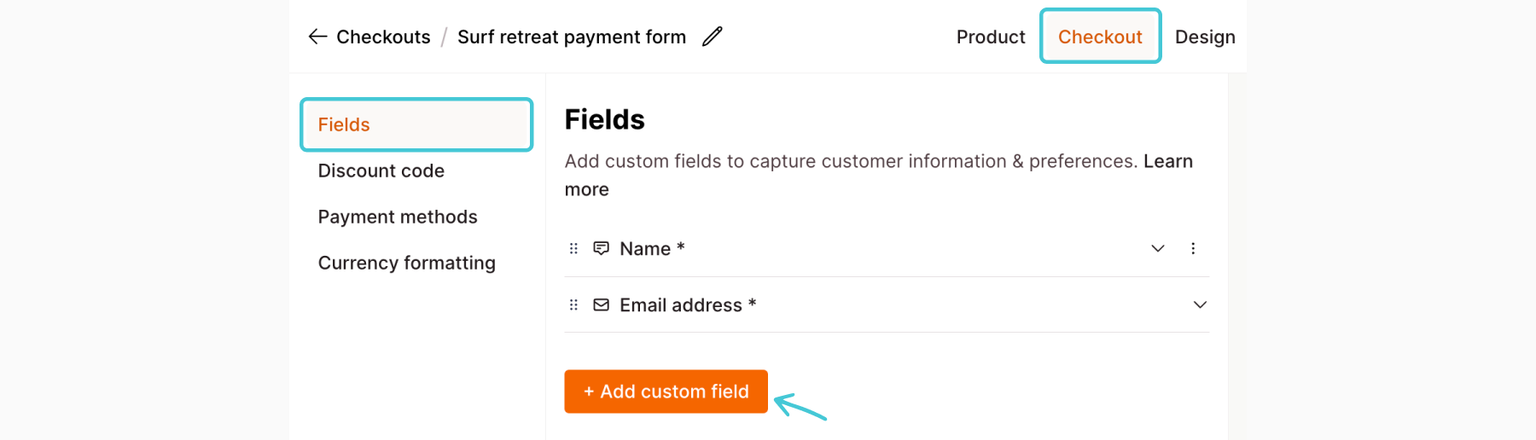
You can add various form fields, such as dropdowns, text fields, checkboxes, quantity, date and time, country, phone, email, and more.

💡 Pro tip: Only collect necessary information from your attendees—longer and more complex event forms tend to have a higher abandonment rate!
Step 8: Customize the form's appearance
Here are some customization ideas for you:
🎨 Show/hide your logo, business name, price
🎨 Change button color
🎨 Change CTA or submit button text
🎨 Show trust symbols: Showing the ‘Powered by Stripe’ icon will help reassure visitors as they make online payments
🎨 Custom CSS: Useful for those with additional branding requirements
Additionally, under 'After Submission' and 'Settings,' you can customize the confirmation email, set up email notifications, add integrations (i.e., to Google Sheets to create an attendee list or to your CRM), and add tracking pixels.
Promoting and marketing your event page
The form is ready to be shared as an event registration link on social media, used in email marketing, or embedded directly on your website!
Related article: How to make more money from events: 14 ways to increase event revenue
Upsells, merchandise, and add-ons
Do you sell merchandise or have an upsell? Use the one-click upsell feature to increase revenue!
FAQs
How do I add a discount code or coupon code?
You can offer discount codes for paid event forms (checkout forms). Follow the steps here.
Is a registration form the same as an RSVP form?
The terms “RSVP” and “register” are used interchangeably for many events, but they have distinct meanings in formal event settings:
- An RSVP is a request for a response from those who are invited. It doesn’t mean a person has to provide detailed information or register at this point. It’s more so that planners can confirm attendance numbers.
- Registering for an event can be seen as a more formal commitment. It comes after the RSVP process (if there’s one) and typically involves providing more details, including personal information, making payments (if it’s a paid event), and selecting sessions, seats, or activities.
Are event registration forms only for bigger events?
No, they’re not just for event professionals or event planners. From cozy birthday parties to webinars or music gigs, using event forms has these benefits:
⏲️ Streamline the signup process
🗃️ Collect accurate data automatically
✉️ Enhanced communications with attendees
🏟️ Manage capacity based on the signup list
Event organizers can free up time to focus on other aspects of the event, such as coordinating with vendors and partners, handling logistical details, enhancing the attendee experience, and designing marketing content for social media.


