Welcome back to yet another Checkout Page product update. We're thrilled to unveil our latest addition: brand new date and time pickers!
We’ve been asked a bunch of times for this improvement and we’re happy to make this available for you today.
Here are some fantastic ways you can start utilizing the new date & time picker on your pages:
- Collect customer date of birth: Easily gather important information
- Appointment scheduling: Simplify booking processes for your customers
- Product delivery scheduling: Offer convenient delivery options
But wait, there's more!
- Min/Max quantity selector: Set limits for quantity selection
- Dedicated phone field: Collect customer phone numbers and store the data properly
- Powerful custom fields: Now with the ability to set default values!
Let’s jump right on and get you working with these new features.
Date & time pickers
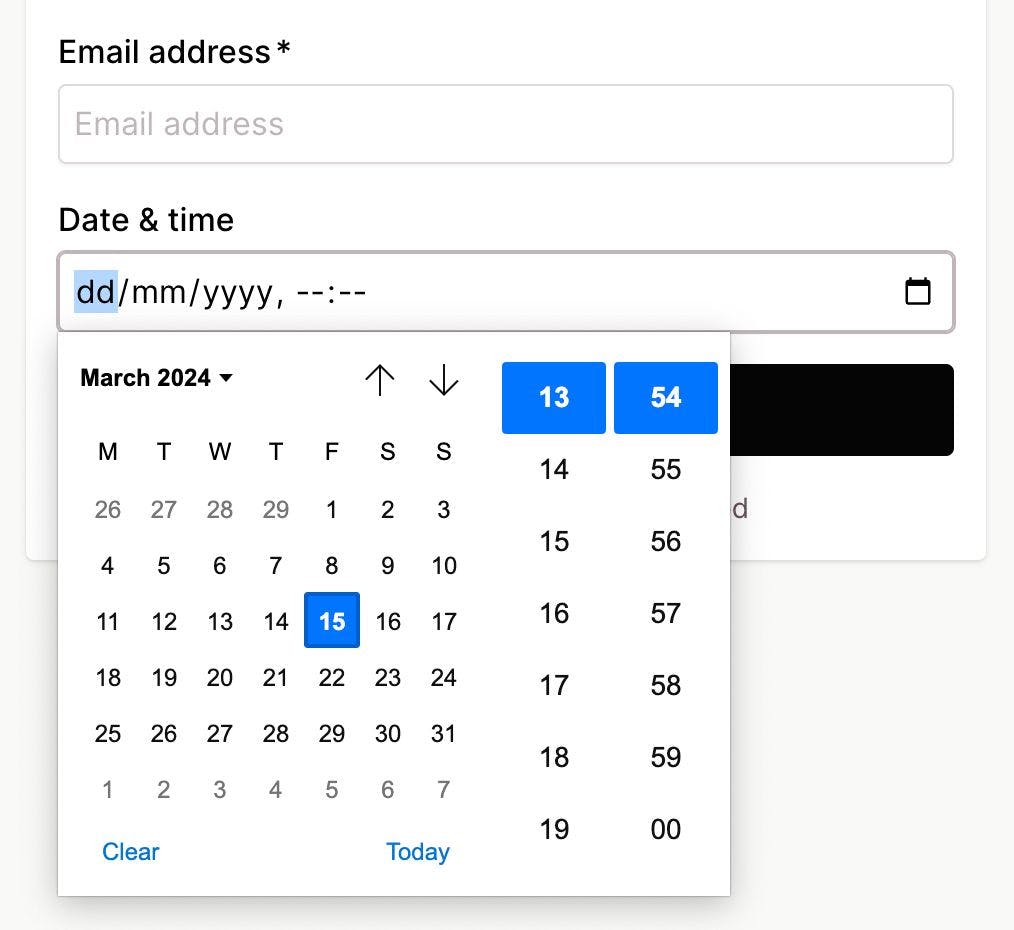
Here's what you can do with the pickers:
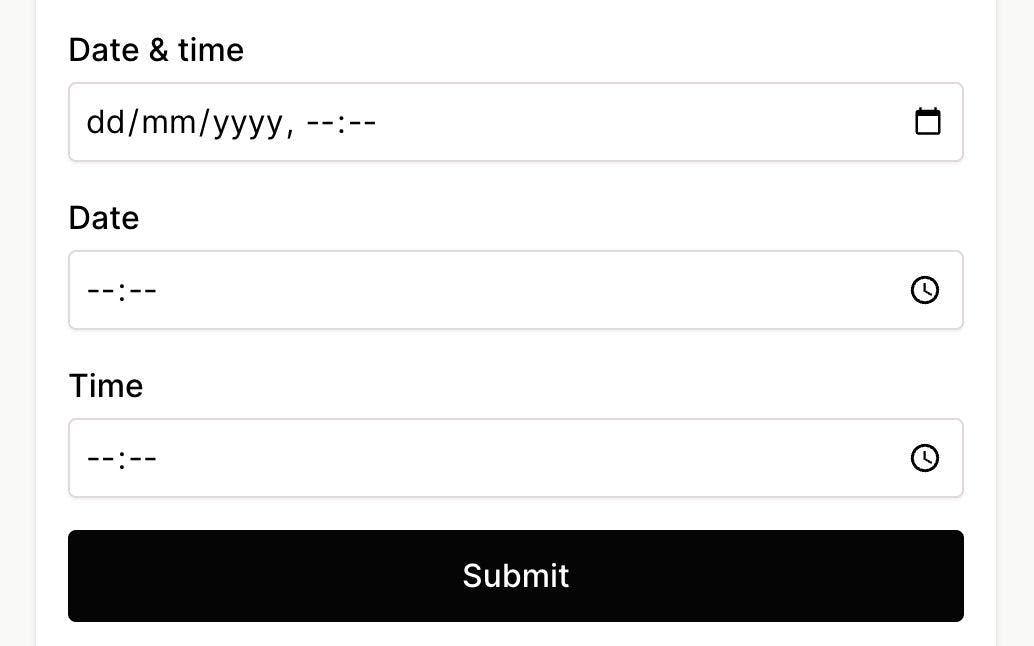
- Choose between a date & time picker, a date-only picker, or a time-only picker.
- Customize settings such as setting a minimum value (to prevent selecting past dates), a maximum value (to limit future dates), and a default value (e.g., a future date)
- Ensure users select a date by making the field required before proceeding.
- You can add as many date and time pickers to a page as you like.
How to add a date picker to your page
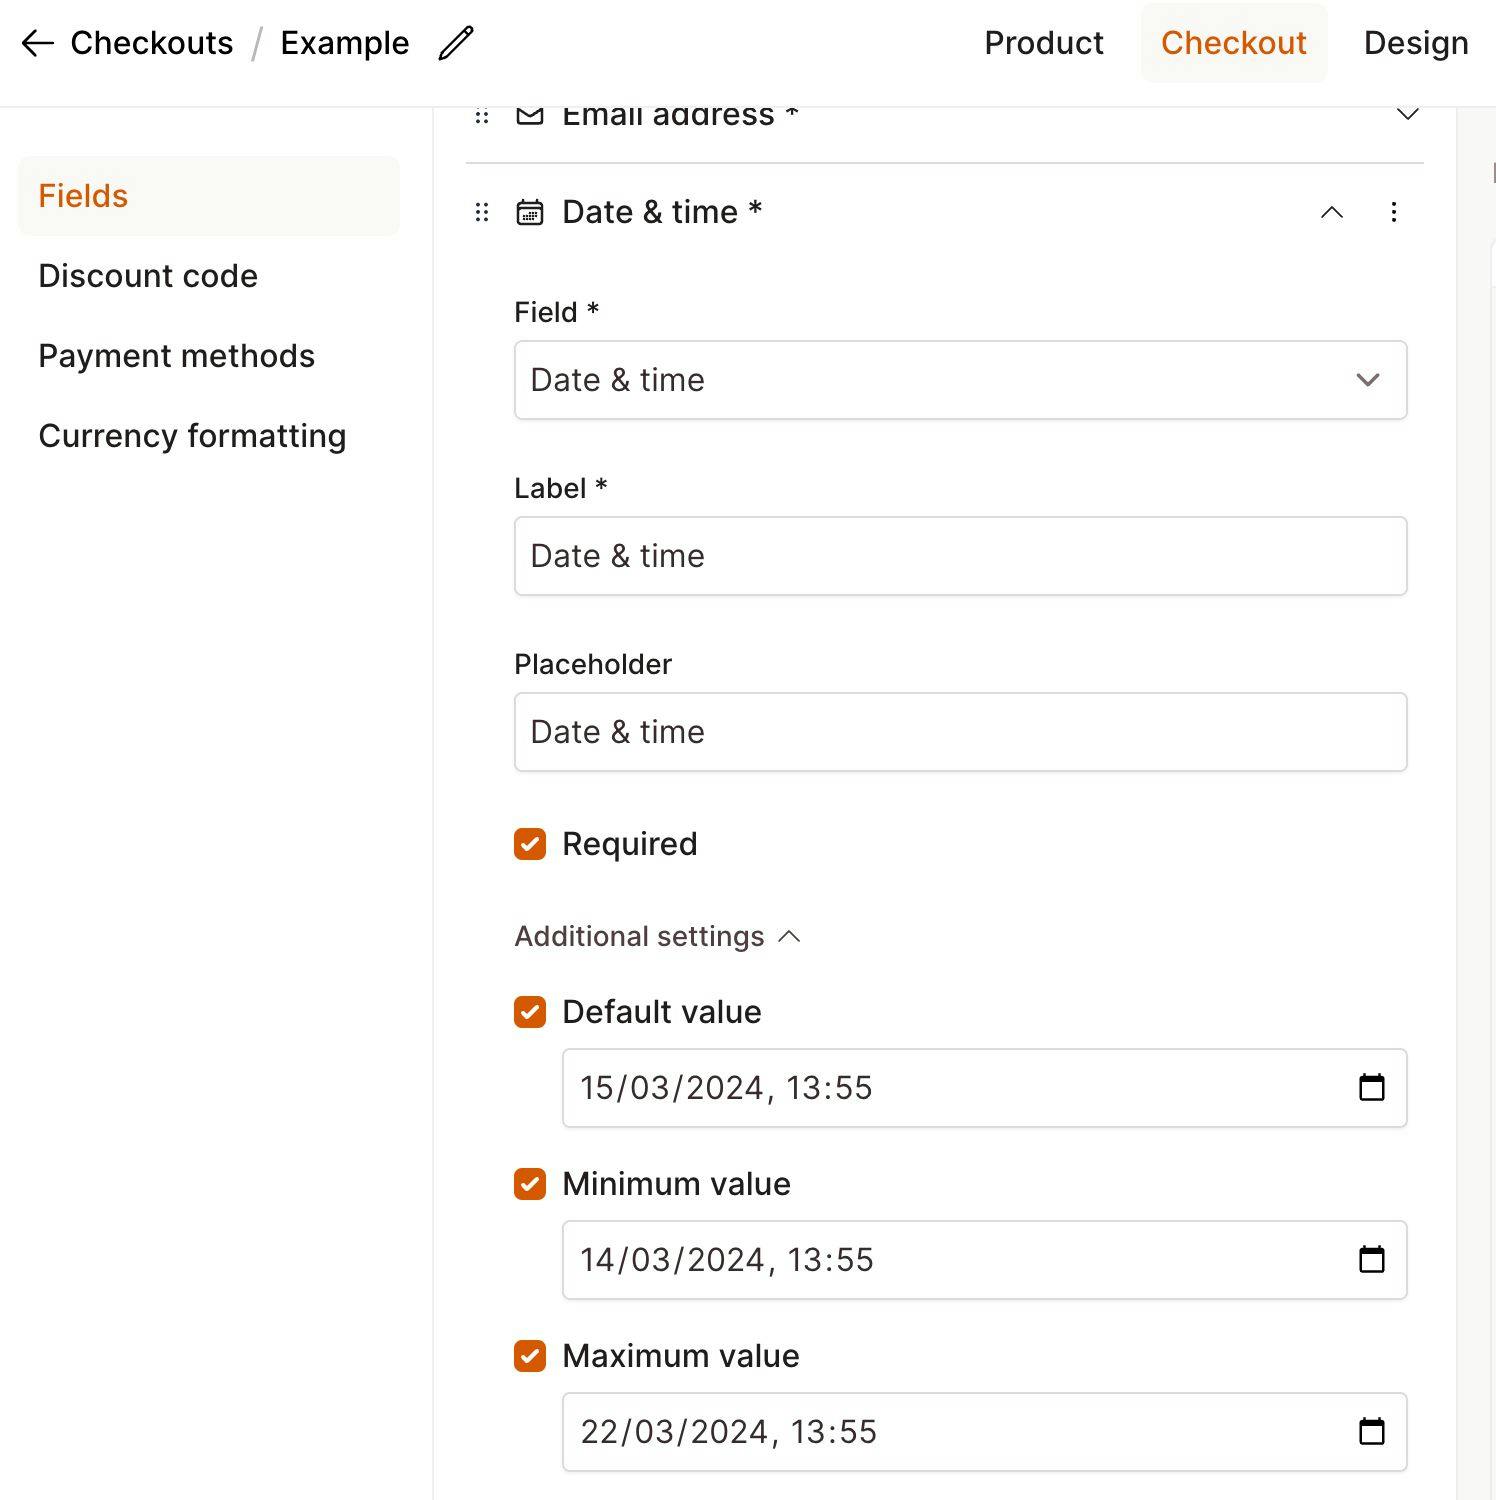
Adding a date and time picker is easy and can be done with just a couple of clicks:
1. Edit the page.
2. Navigate to Checkout.
3. Under Fields, add a Custom field.
4. Choose the date/time picker you need.
5. Dive into additional settings for more control over the field's behavior.
Keep in mind that you can't change the appearance of the date picker (it's styled by the browser).
Min / max quantity settings
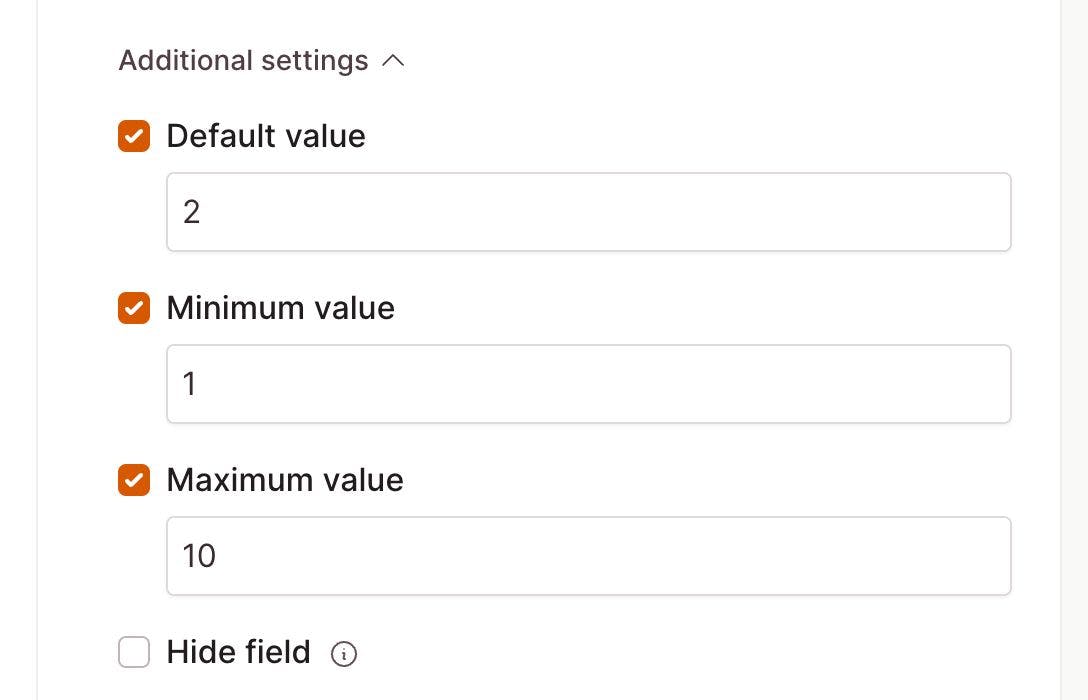
Now you can set a minimum and maximum quantity for the quantity selector.
This feature is especially beneficial for event ticket sellers who may wish to limit the maximum number of tickets a customer can purchase. It's also ideal for digital product sellers who want to restrict the number of items a customer can buy.
How to add a min / max quantity
1. Edit the page.
2. Navigate to Checkout, then Fields.
3. Add a Quantity field.
4. Click on Additional settings.
5. Set a Min / Max value.
You can also combine these settings with the default value. For example, you might want to set a minimum and maximum range (1 to 0), but default the quantity selector 2.
Field default value
Now every field can have a default value!
Here are some awesome examples of how you can use the default field value:
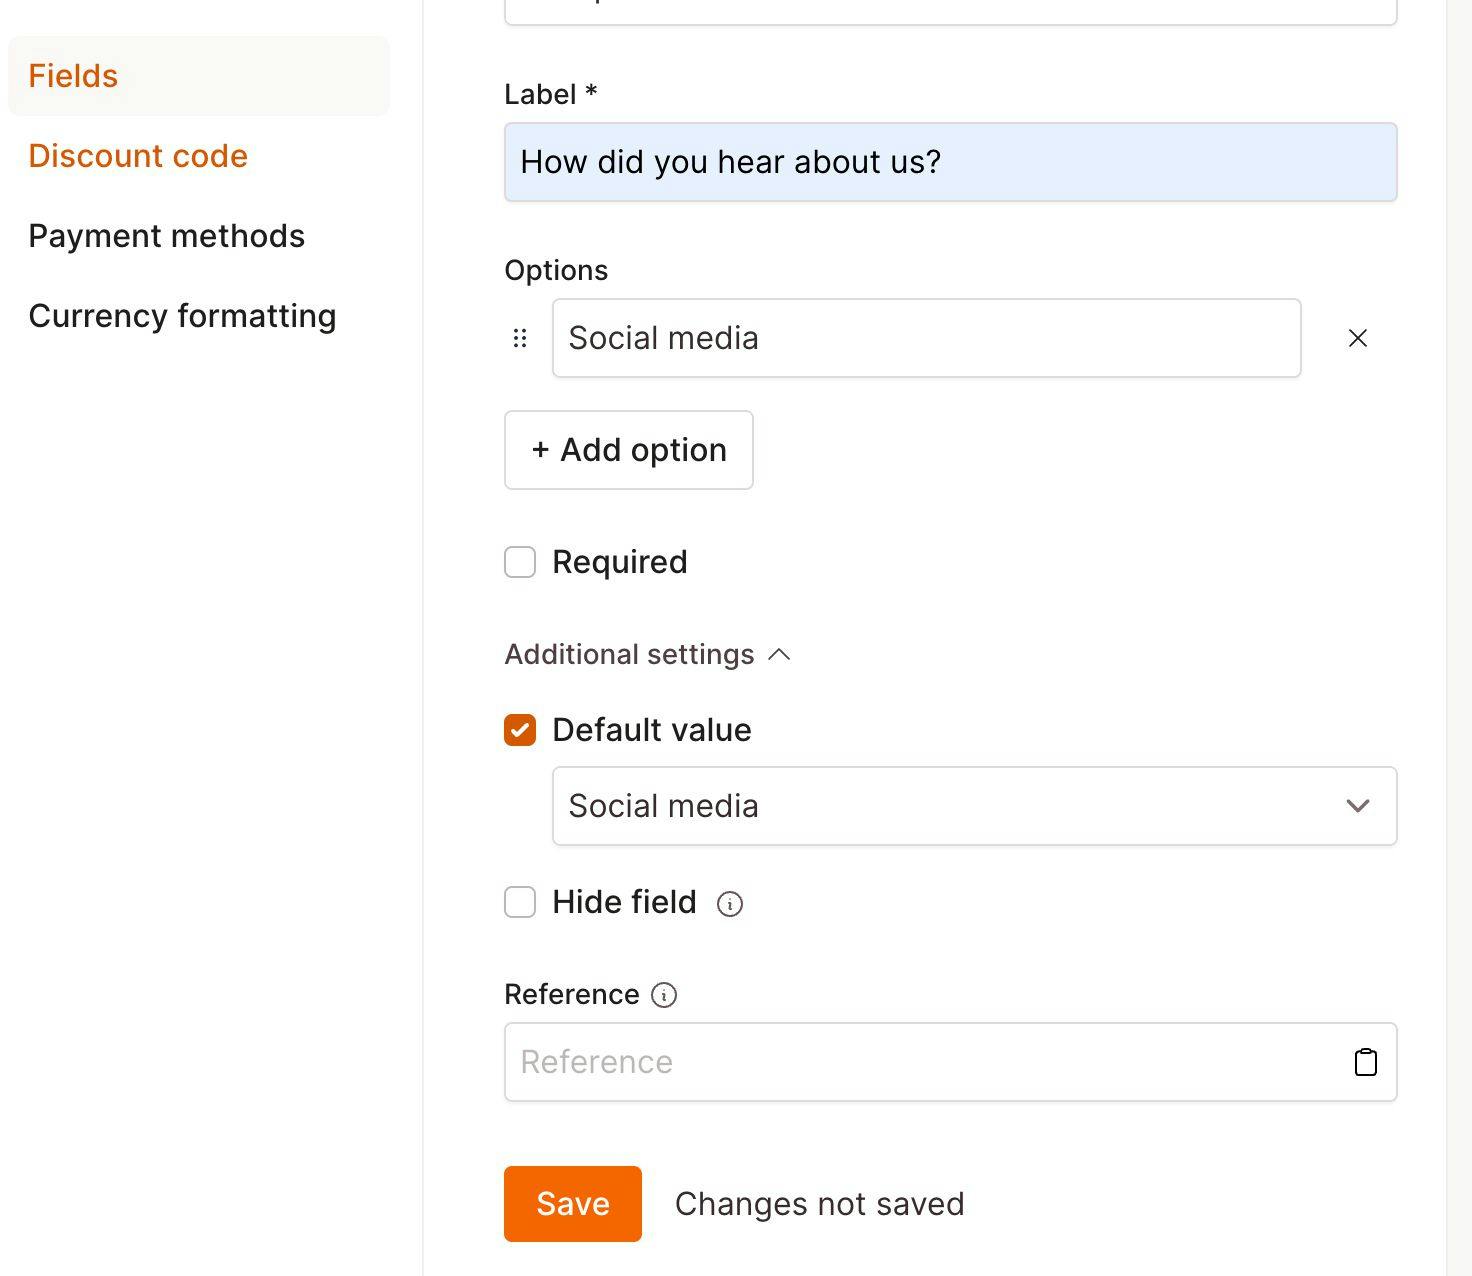
- Imagine you have a multiple-choice field and you want to pre-select the second option. It's now easy! Simply set the default value to match the second option.
- How about a date picker that defaults to a particular date in the future? Just set the default value to that date.
- Or perhaps you want to set a checkbox to be opt-out instead of opt-in? Simple! Just set the default value to "checked".
How to add a default value to a field
1. Edit the page.
2. Navigate to Checkout, then Fields.
3. Click Additional settings.
4. Check Default value.
5. Set the field's default value from the settings provided.
Remember, the default value is not the same as a field placeholder.
Hidden fields
No change here, but we just want to remind you that you can add hidden fields to your checkout pages and pre-fill them with values that the customer cannot see!
More info on hidden fields here
That's it for this update!
Thanks for reading, and please help us out with some feedback!
Together, we make the product better with every release.
Till next time, thanks!
Andy
