When you sell products and services online, you often need to collect customer information at checkout. For example:
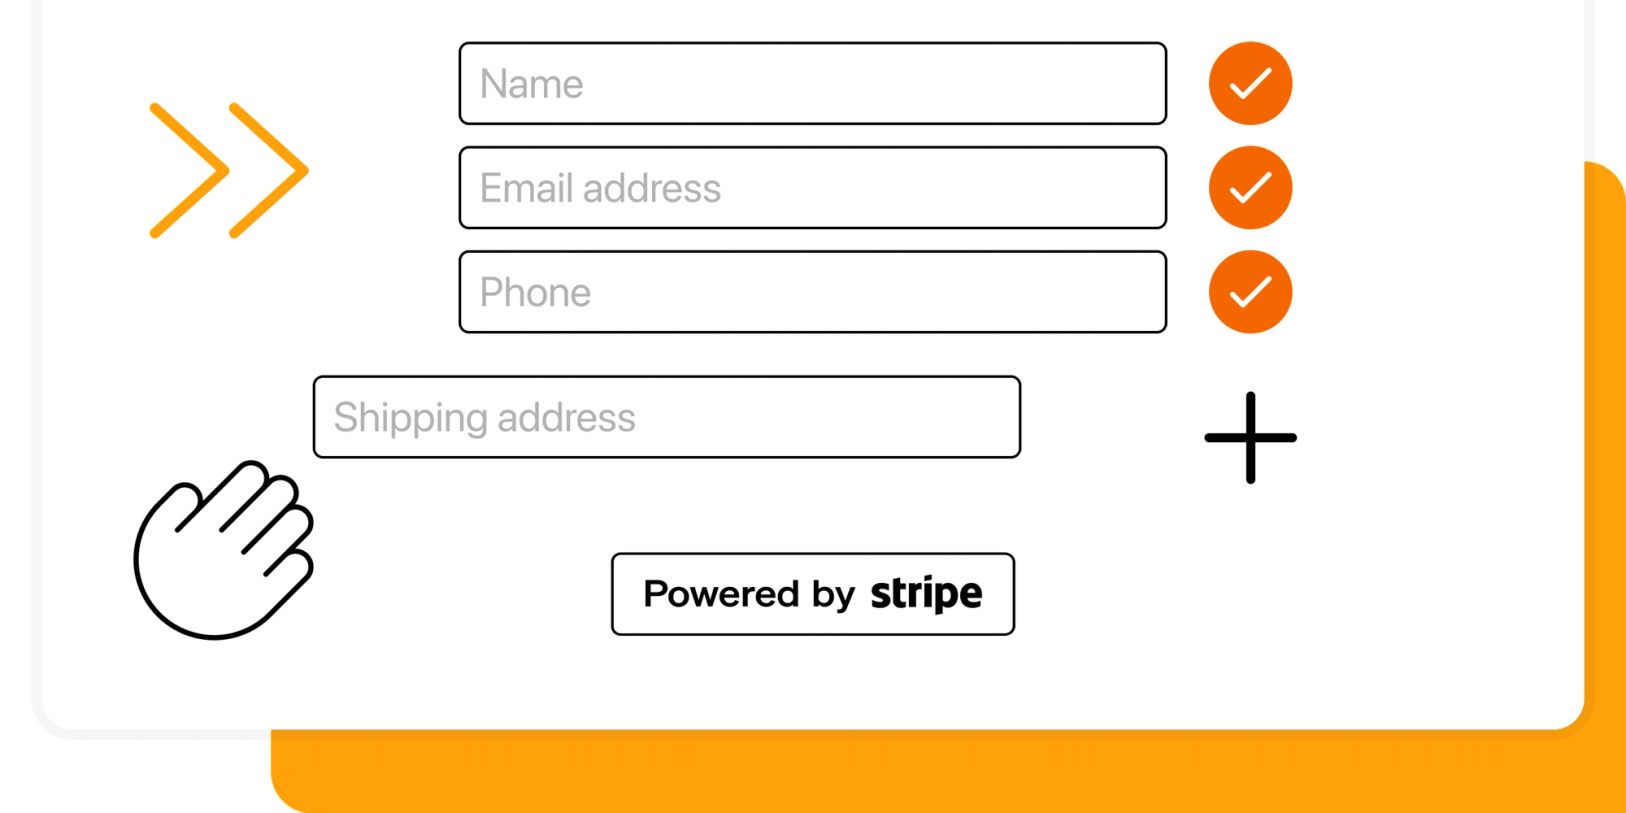
- Contact details & shipping address
- Your customer's order preferences
- Custom messages
- Additional email addresses
- Newsletter signup
- Accept terms of service
Stripe is a powerful, easy-to-use payment processing platform for businesses of all sizes. Stripe offers many amazing no-code solutions to help you sell online, but customization is often limited.
Out of the box, Stripe Checkout can only collect customer name, email and billing and shipping address.
Let's explore three ways to add custom form fields to Stripe Checkout, other tools and alternatives.
Add custom fields to Stripe Checkout
Stripe recently added custom fields as a beta feature to Stripe Checkout. It's a great step-up from not having this ability at all. But it comes with the following limitations:
- You need beta access to use this feature
- It doesn't work with Stripe Payment Links
- You can only add 2 fields
- You can only add text fields
Stripe also says you shouldn't use these fields to collect personal data. In their example, they use a custom field to collect a personalized engraving.
If you’re already using Stripe Checkout with code and the limitations above are not a problem for you, you can use this feature.
For everyone else, let’s see what other options are out there.
Collect information after checkout
A common way to collect additional information is to collect it after checkout.
For example, if you sell a product that requires a custom message, you can ask for this information after checkout. To collect this information after checkout, you can either:
- Send customer a confirmation email with a link to a form
- Redirect customer after checkout to a form
Stripe Checkout has a feature to redirect customers to your website or any other URL. You could add a form on your website and redirect your customer to this form, or redirect them to a hosted form.
Keep in mind that when you collect information after checkout, there is always the risk that the customer will not complete the second form. This can leave you with incomplete information.
Collect information before checkout
To make sure that you have collected all information from your customer before accepting payment, you can collect it before checkout.
You first collect the information you need from your customer, and then redirect them to Stripe Checkout.
To collect this information, you can use one of the form builders below:
After the customer completes the form, you can redirect them to your checkout with a Stripe Payment Link. Most form builders have this redirect option.
A major downside of collecting information before or after checkout is that your information is stored in two places, and you'll need to combine the information manually.
While you could use Zapier to store both pieces of information in one place, such as in a Google Sheet, this is not ideal.
The third option is to use a tool that combines the form and checkout in one place. Let's explore that option next.
Add custom fields with Checkout Page
If you want to collect additional information while using Stripe for payments, you can use Checkout Page. Checkout Page lets you create custom checkouts with unlimited fields, while using Stripe for payments.
Companies from all over the world use Checkout Page to create a custom checkouts that collect exactly the information they need to provide their service or sell their products.
Here are some examples of custom checkout fields using Checkout Page:
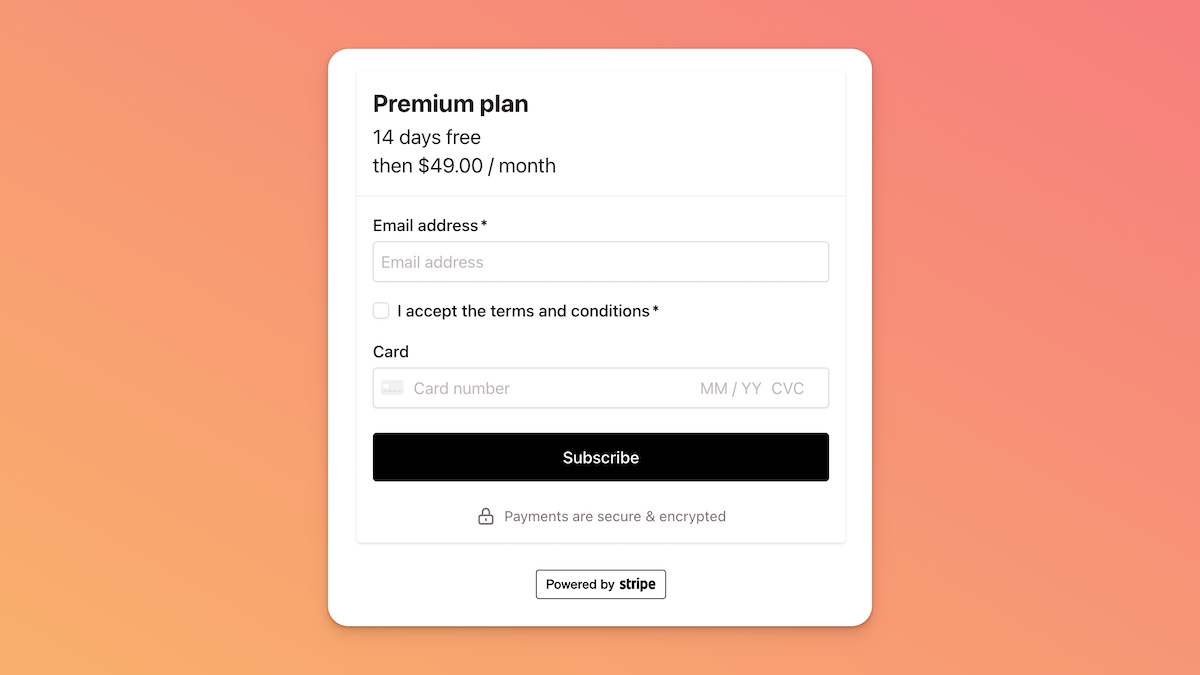
A terms and conditions checkbox

A custom message field

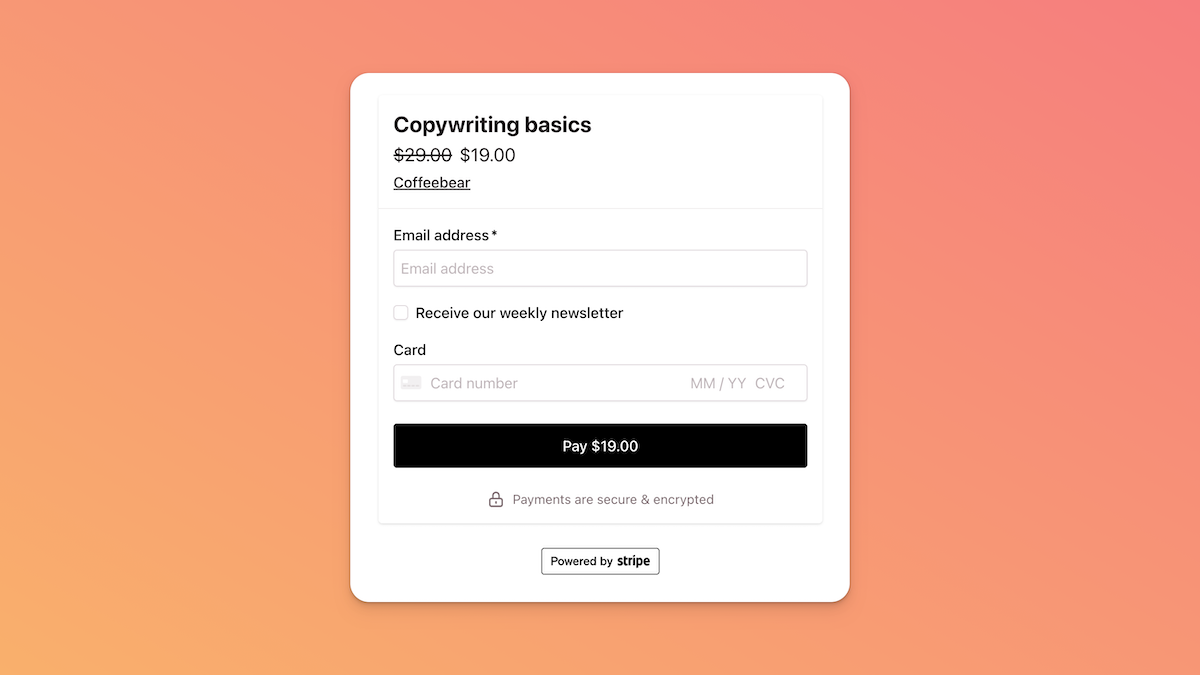
A newsletter signup field

Checkout Page integrates with Zapier so you can automatically send the information to your favorite tools.
For example, you can send the information to Mailchimp to add the customer to your newsletter, or to Google Sheets to store the information in a spreadsheet.
If you do wish to split the form and checkout, you can use Multi Step Checkouts to split the form and checkout into two steps, while combining the information in one place.
How do you add terms and conditions to Stripe Checkout?
Often times you need your customers to accept your terms and conditions before they can complete the checkout. Commonly this is done by adding a checkbox to the checkout form.
Stripe Checkout doesn't have a built-in option to add a checkbox. Stripe's new custom fields feature doesn't support checkboxes either; it only supports text fields.
You can add a Terms of Service checkbox your checkout with Checkout Page. Checkout Page lets you add any type of field to your checkout, including checkboxes.
Conclusion
Custom checkout fields are a great way to collect additional information from your customers. Stripe Checkout is a powerful tool, but it doesn't have the option to add custom fields out of the box.
Fortunately there are alternatives out there with which you can collect additional information from your customers while using Stripe for payments.
Checkout Page lets you sell products, services and events with lots of customizability, including custom fields. Checkout Page integrates with Stripe, Zapier and many other tools. Learn how to add custom fields to your checkout here.


