Create an event registration form
A quick guide to creating a registration form for your event.
There are two ways to create event registration forms using Checkout Page:
- Event registration form (e.g. for RSVP, lead capture, lead generation, free events)
- Registration form with payment (for paid events, ticket sales, deposits, registration fees)
Create a new form
- From your Checkout Page dashboard, click on Create page in the top right corner.
- Select the type of event page and pricing: Checkout: for paid events, event ticketing, and event merchandise. Form: For RSVPs, event signups, or event registration without payment.


- Add event description and images
You could include:
- Event purpose/goal
- Target audience
- Date and time
- Location
- Schedule or agenda
- Cost, fees, and prices
- Speakers, partners, or co-hosts
- Cancellation or refund policies (or a link to them)

💡Tip: Unsplash is a great resource for beautiful, royalty-free images. Just credit the creator if you decide to use any of their work!
Add options or ticket types
- Navigate to Variants and Add variant for your ticket types
- Go to variant Settings and then Layout to further customize each option. There's also conditional logic to show or hide certain variants (options) based on another selection.

If your event charges per person (per pax), remember to select Multiply price with quantity so that the final price is reflected correctly!


Another way of using variants here is to collect deposits or partial payment for a paid event, as shown here:

Add form fields
Go to Fields tab to add additional form fields to collect the necessary data.
Examples of common form fields: name, email address, contact number, number of attendees, job title, experience level, accessibility requests, dietary restrictions, etc.

Starting from a template? Edit the fields to suit your needs!


Note: if you offer discounts, toggle Discount code on. You can create, edit, and track discount codes here (from your dashboard)
Design the form's appearance
Now that you’ve added in the necessary form fields and options (variants), we’ll move on to making it look good. Here are some customization ideas for you:
🎨 Show/hide your logo, business name, price
🎨 Change button color
🎨 Change CTA text

The default button says “Submit”, but you can change the CTA. Look under Custom Labels, and type your new text under the Submit button.

🎨 Show trust symbols
Showing the Powered by Stripe icon will help reassure visitors as they make online payments.

🎨 Custom CSS
Useful for those with additional branding requirements
Preview and publish
Click on Preview as and see how it will appear to your customers.
Then share your form link on social media, leverage email marketing, or embed the form directly on your website!
💡 Tip: the form can be shared directly with attendees as a standalone link (event registration link)

This is what our event registration form template looks like now:
🎉 Registration or RSVP form (use this template here) ↓:

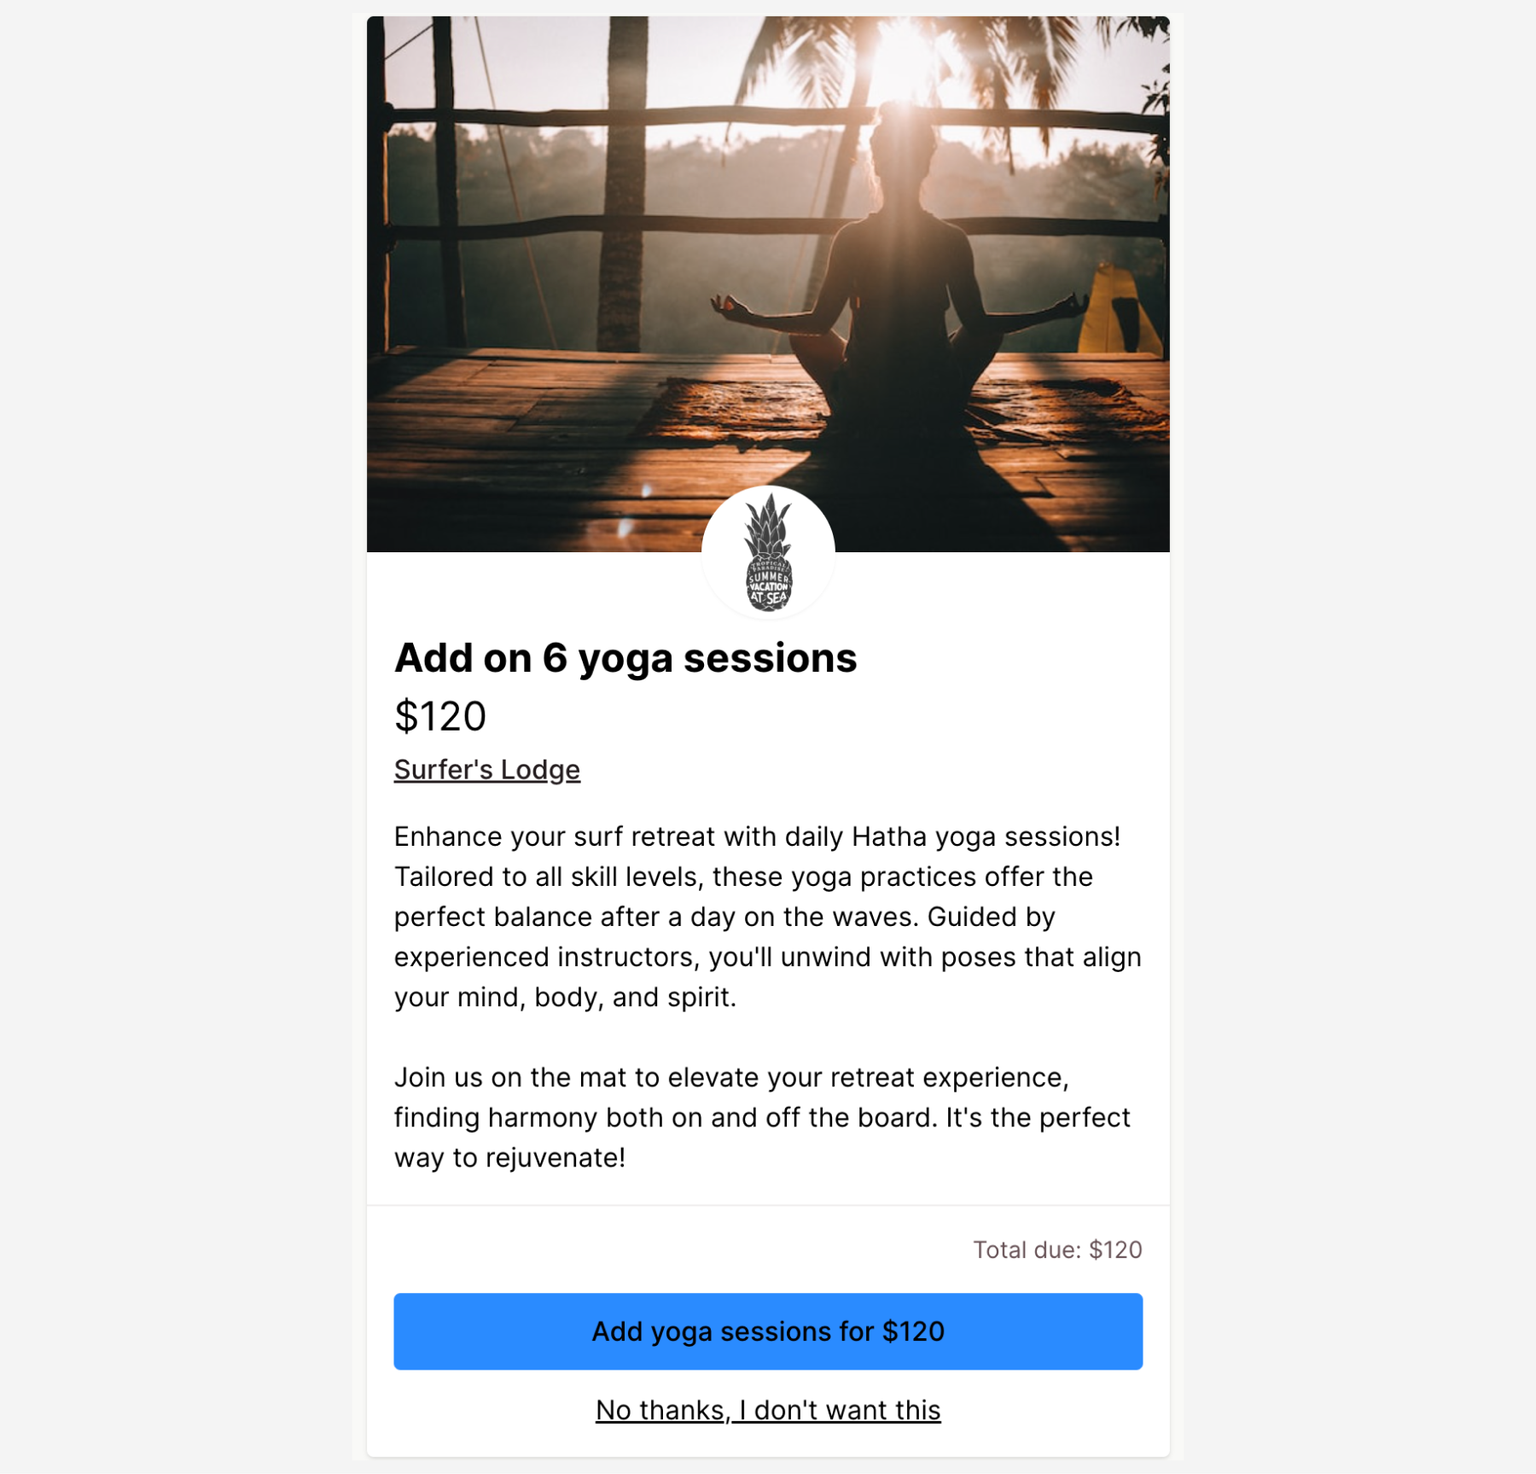
🎉💳 Event registration form with payment field (use this template here) ↓:

💡Tip: remember to test payments!
Check out more registration form templates here.
Upsells, additional customization & settings
Do you sell merchandise or have an upsell? Use our new one-click upsell feature to increase revenue!
Checkout Page offers additional customization options after someone submits their RSVP, registration form, or payment.
You may choose to customize the confirmation email, or connect to your CRM or other software using the Zapier integration.The default email notification will get sent to registrants otherwise.
