Quick guide to selling event tickets
Create an event and sell different types of tickets.
On Checkout Page, you can sell events without any administration fees per ticket.
This guide will show you how to sell tickets using Checkout Page.
Before selling, make sure to connect your Stripe account to be able to take payments.
Create an event
1. Go to your dashboard: Head over to your dashboard and click on Create page, then choose Checkout
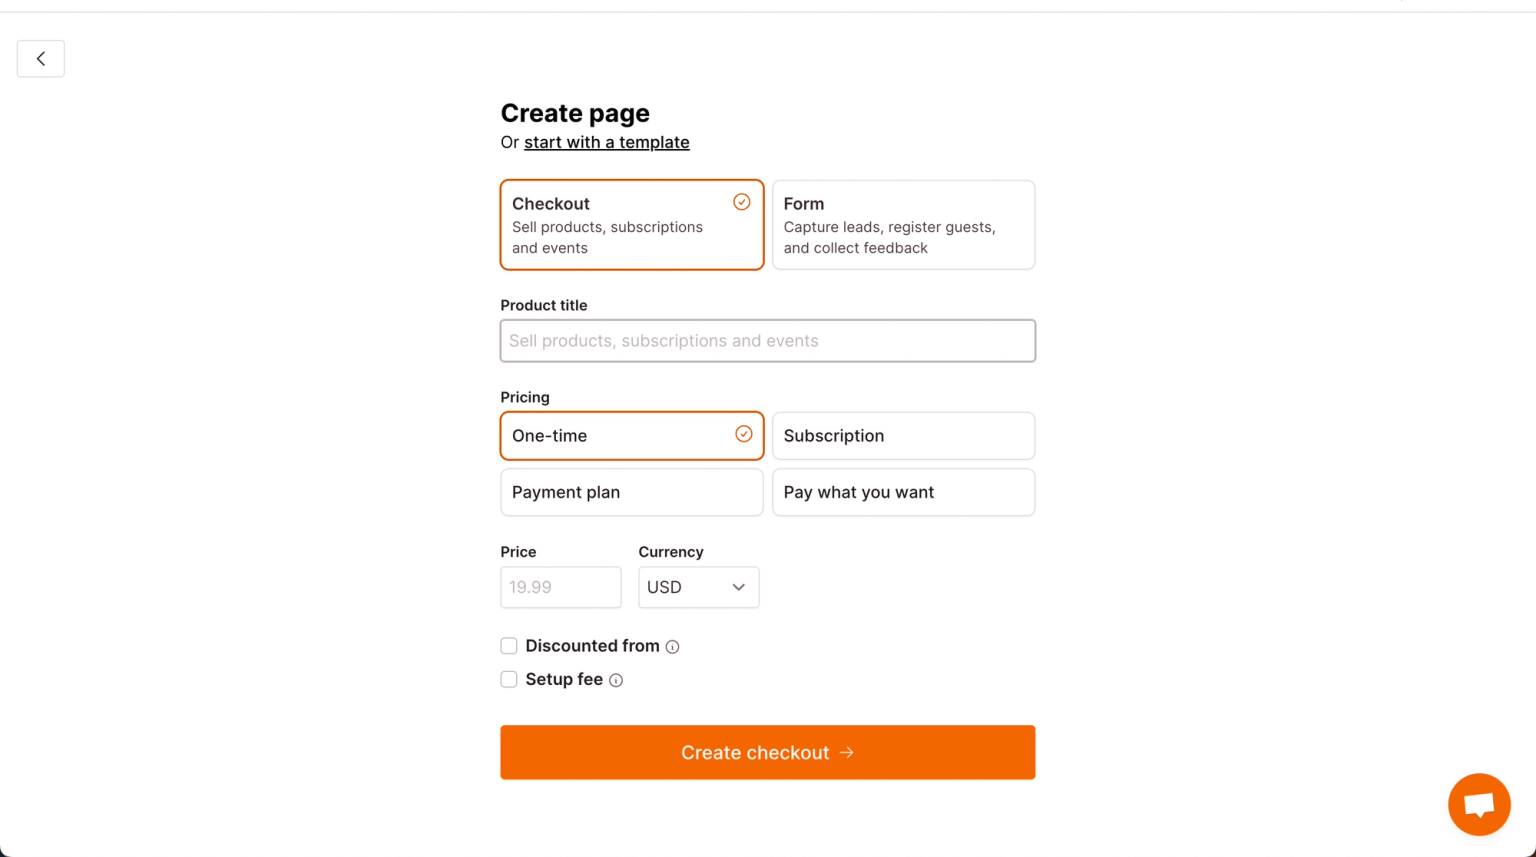
2. Add event details: Add a catchy title and set the price for your event. If you have different ticket types, add a 0 in the price field; you can add those ticket types in the next steps.
3. Set a booking fee: If you want to charge and keep a booking fee, hit Setup fee (you can change the label to Booking fee later). Tick Multiply by quantity to apply the setup fee to every ticket sold.
4. Enter your event start time and location: In the next step, enter your event's start and end time, location, and other details in the description box. Pro tip: You can use HTML to format your event info!
Add different ticket types
If you want to offer different ticket types, for example, General Admission and VIP, you would use a variant to do this.
Head to the Variants section and click Add variant to get started.

1. Name your variant
Type Ticket types as the variant name.
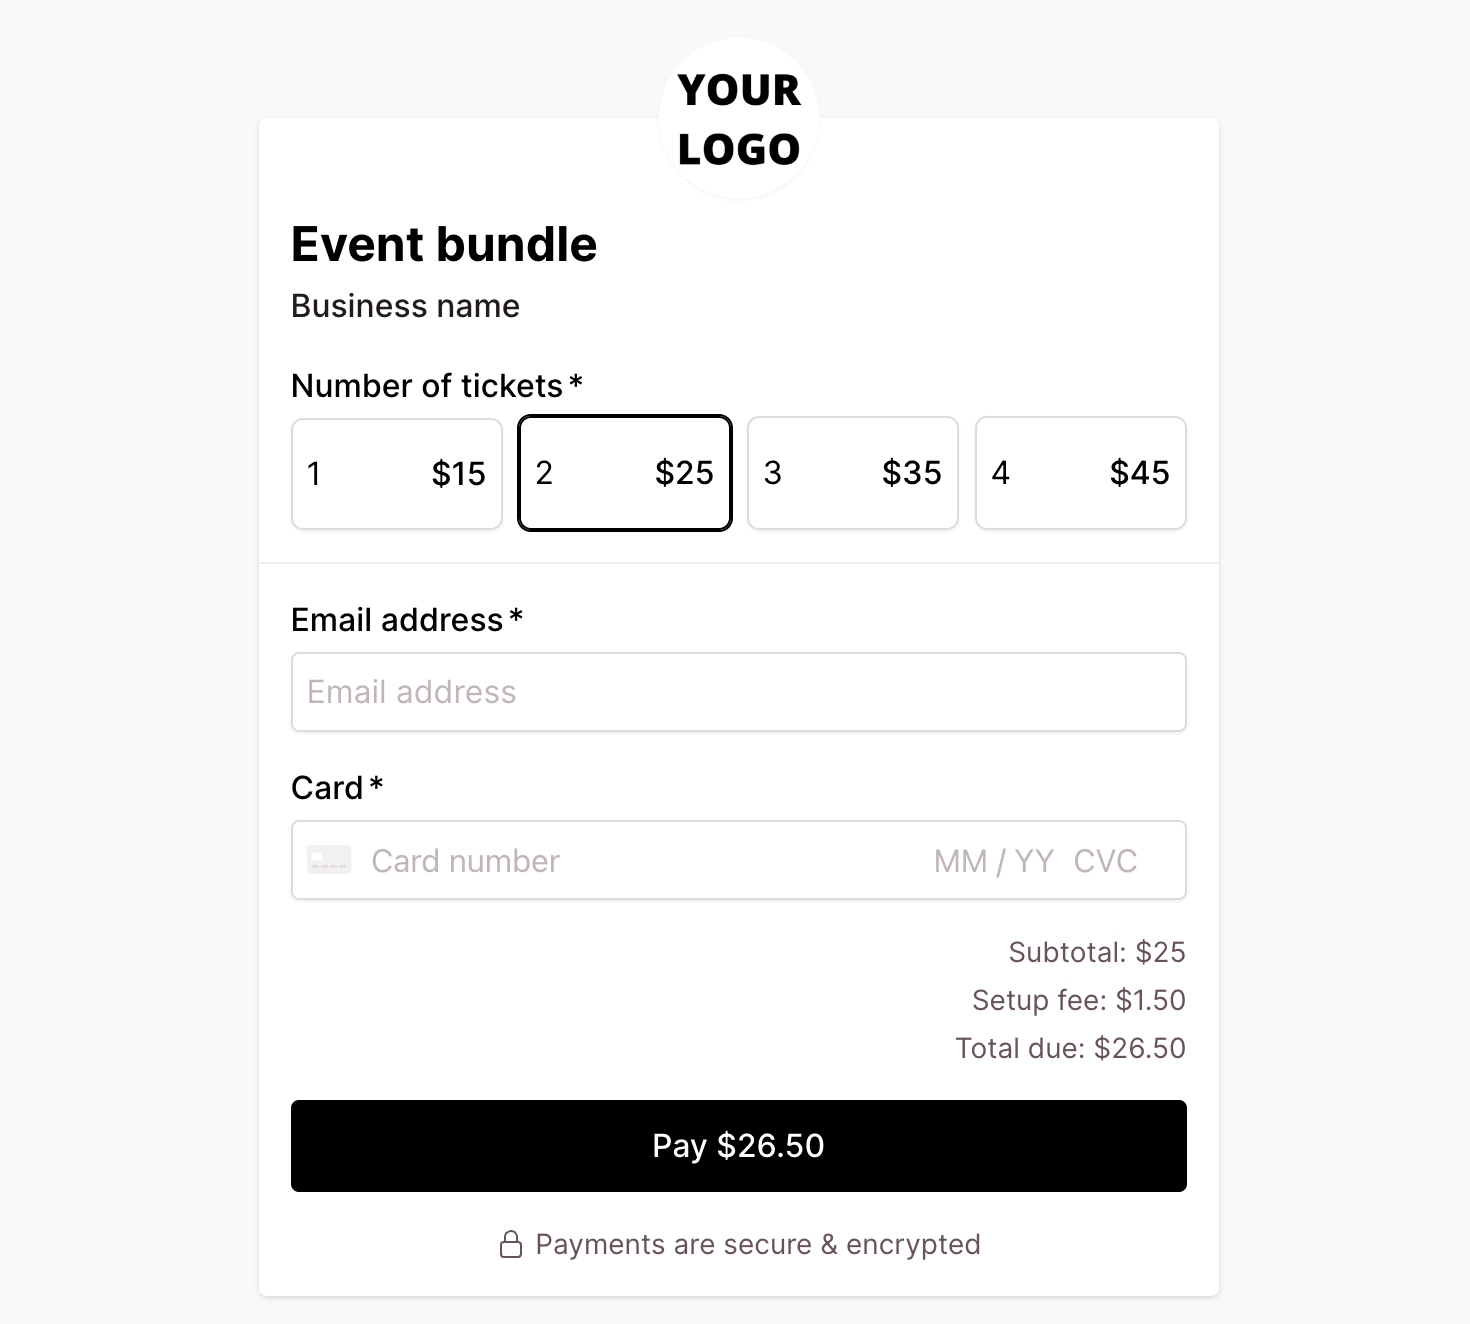
2. Add ticket types and prices
For each variant option, enter the name (e.g., General Admission) and set the price (e.g., $49).

3. Enable quantity selection
Under variant Settings, check Quantity per option and click Save to let guests choose the type and quantity of tickets.

4. Make your variant required
Ensure you make the variant required so that your guest must select a ticket type and amount.

Here are some other things to improve the ticketing experience:
Customize layout
Explore layout options in Settings and Layout to set up and change the appearance of your ticket variants.
Unlimited ticket types
No restrictions on the number of ticket types you can add to your events.
No additional fees
Regardless of event cost or ticket quantity, Checkout Page doesn’t charge extra fees.
Set your ticket availability
There are two ways to set ticket availability:
1 - For single-price events:
1. If your event has a single price, head over to Settings, then Inventory.
2. Uncheck that Unlimited stock box and set how many tickets you've got.

3. Each time someone grabs a ticket, we'll drop your stock count.
2 - For multiple ticket types:
1. Now, if you've got a variety of ticket types, skip the above step.
2. Jump to Variants, then Settings.
3. Give that Manage stock box a tick and set availability for each ticket type.

4. The stock decreases with each purchase of a particular ticket type.